This article will show you how to use Google Authenticator to enable two-factor authentication in WordPress.
Note
You will need to install a Google Authenticator application on your smartphone.
What Is WordPress Two-Factor Authentication?
WordPress two-factor authentication is an additional security layer you can provide to your WordPress admin account. It protects your website against common threats such as phishing and password theft. After enabling it, no one can access your account without a unique code.
Consider a scenario where someone has the password of your WordPress account. However, the intruder will still be unable to log in to your account without access to the unique code, ensuring an impregnable security layer to your account.
How to Setup WordPress Two-Factor Authentication?
We can easily set up the WordPress two-factor authentication using the Google Authenticator plugin –
1. Log in to your WordPress Admin.
2. Click on Plugins >> Add a New Plugin in the Dashboard.
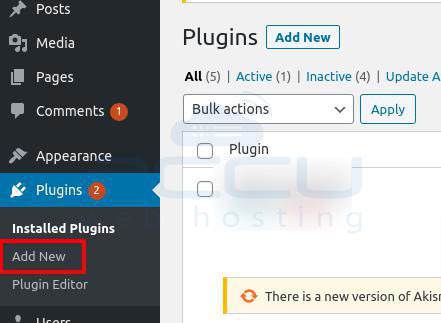
3. Search for the Google Authenticator plugin, and Install and Activate it.
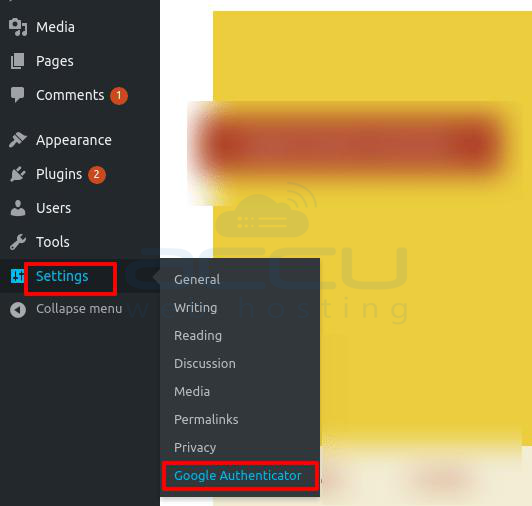
4. Now, go to SETTINGS and click on Google Authenticator.
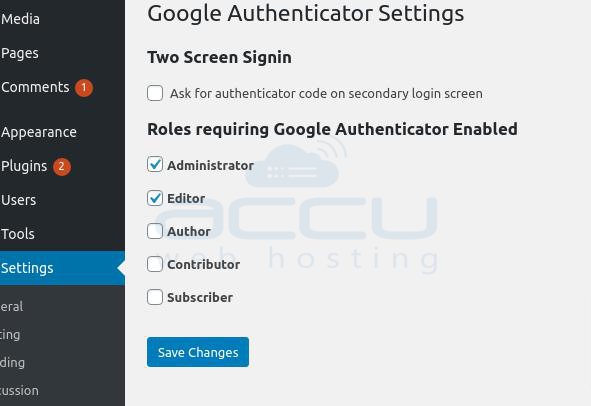
5. Here, we have enabled the administrator and editor's two-factor authentication.
6. You can make the changes per your requirement and click on Save Changes.
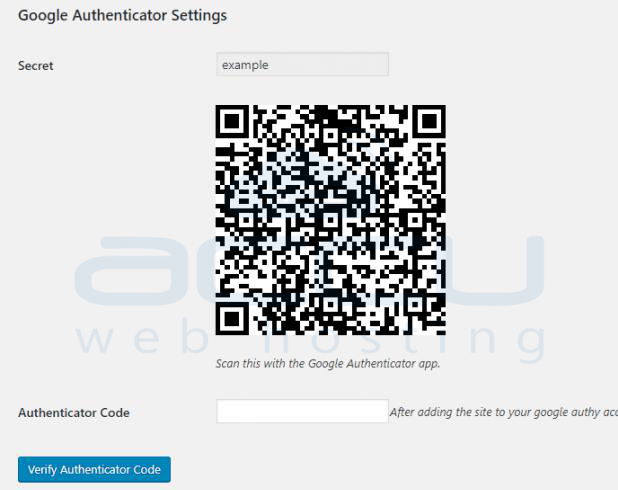
7. Now, go to the Installed Plugins, and you will see a page with a QR code.
8. Download and install the Google Authenticator application on your phone.
9. Enter the code you receive in your Google Authenticator inside the Authenticator Code box.
10. Click on Verify Authenticator Code.
And you will have successfully applied the WordPress two-factor authenticator.
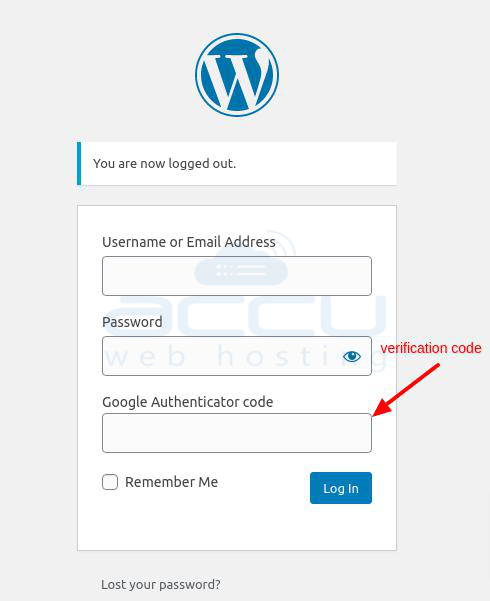
Next time, WordPress will ask you to enter the Google Authenticator Code while logging in to your WordPress admin.
In the future, if you wish to disable WordPress two-factor authentication, you can disable the installed plugin.
