Adding a custom logo to your WordPress website gives it a personal touch and is an essential aspect of the branding of your website.
Please refer to the steps given below to add a custom logo to your website –
1. Log in to the WordPress admin dashboard.
2. In the left sidebar, click on appearance > customize.
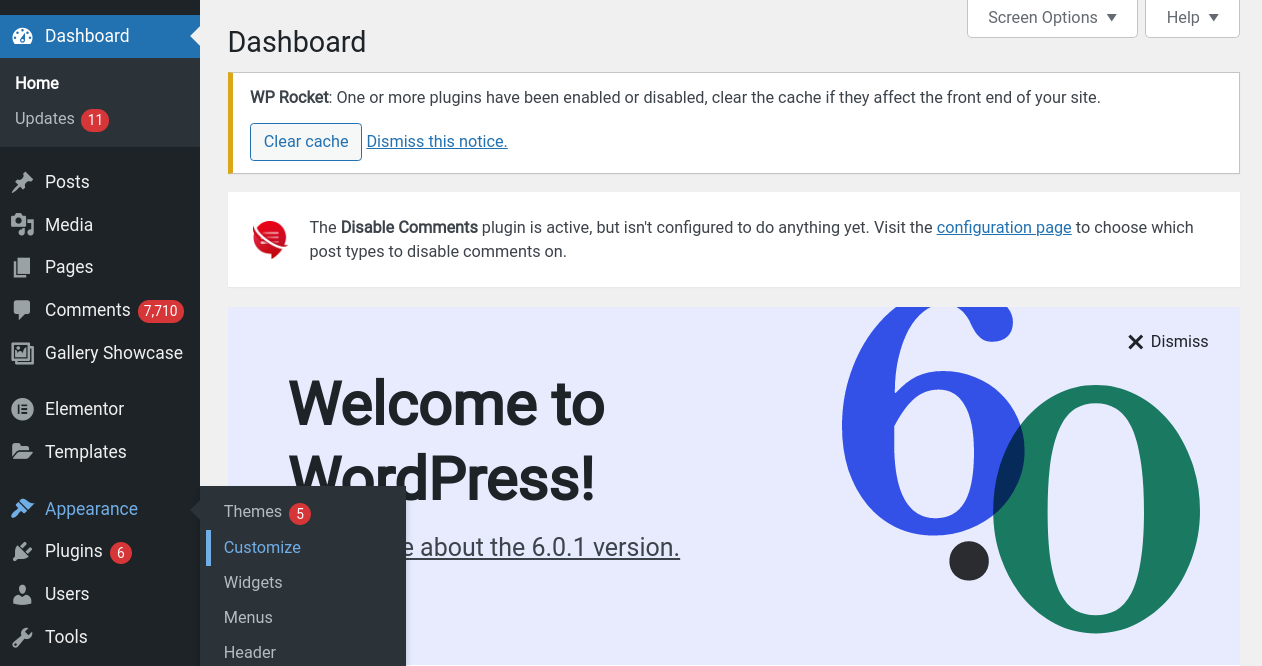
3. In the left side pan, click on site identity.

4. Click on the select logo option.
You can drag and drop the logo file directly or upload the logo by clicking the Select Logo option.
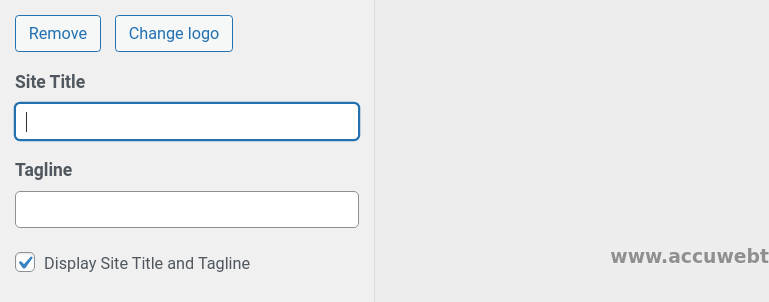
5. Once the logo is uploaded, you will get the options to add Title, Caption, Alt Text, Description text boxes, etc.
6. After adding the information and cropping the image, click the Save & Publish button on the Site Identity menu.
That’s it!
The custom logo of your choice has been uploaded to your WordPress site.
