If you have installed WordPress and want to run an online store, we recommend you go with WooCommerce. It is one of the most used plugins for the WordPress website, which provides customized options with flexibility, making it a popular eCommerce plugin.
WooCommerce is easy to set up, and it takes very little time to install and configure it with WordPress.
Following are the steps to install WooCommerce on your WordPress –
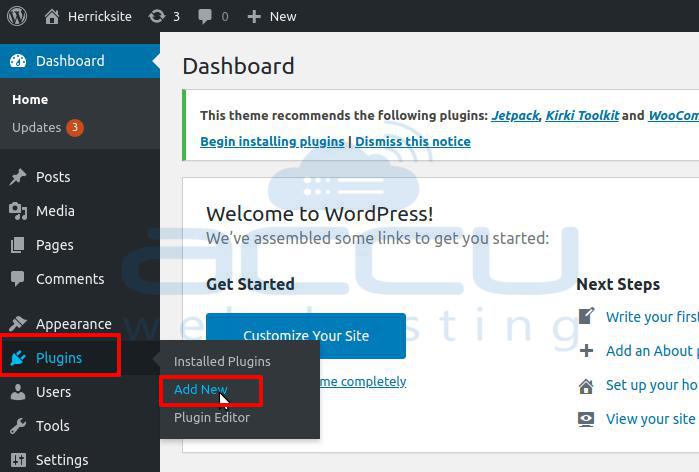
1. Log in to your WordPress Admin.
2. Click on Plugins >> Add New.
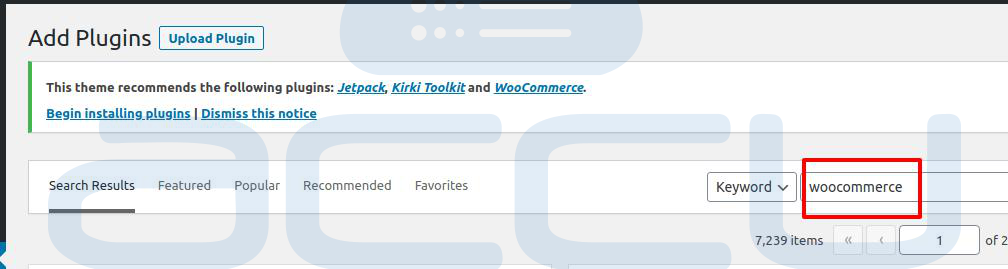
3. Right to the Keyword option, type woocommerce.
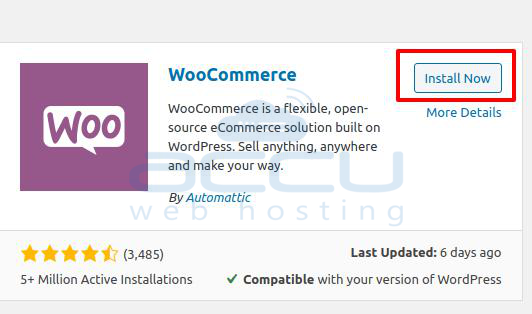
4. Click on the Install Now button in the WooCommerce Plugin box.
5. Once installed, go to the installed Plugin list and Activate WooCommerce.

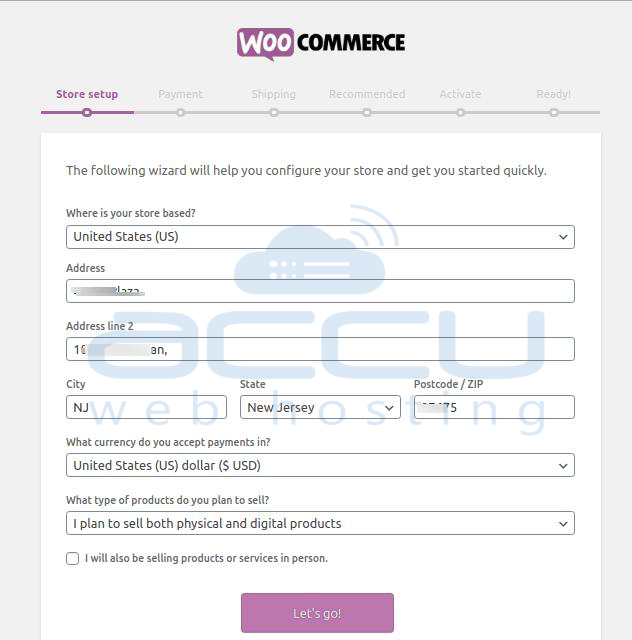
6. As you click on the Activate button, it will take you to the configuration page. Add all the required details and click on the Let's go! button.
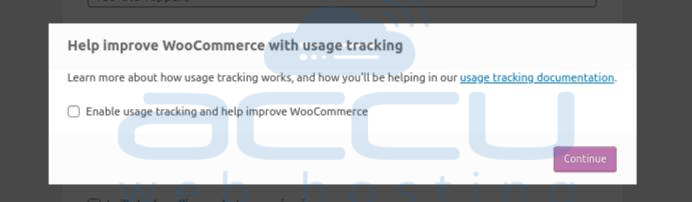
7. Then click on the Continue button.
8. At the Payment option, select the payment method you would like to pay for WooCommerce.
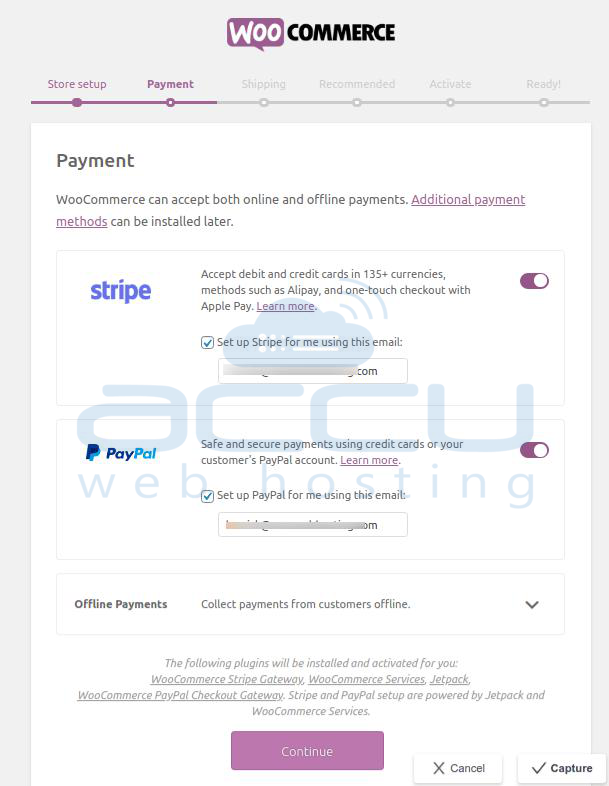
9. Expand the Offline Payments option and enable other payment methods such as check payment and cash on delivery as per your requirement; click on the Continue button.
10. Select your shipping method from the dropdown.
This option will be different based on your location.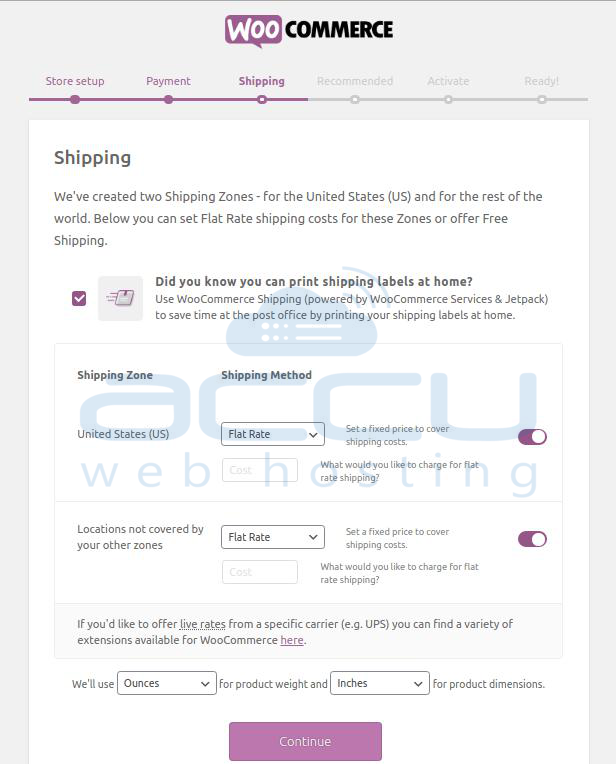
11. Select the Additional Features, if required, and click on the Continue button.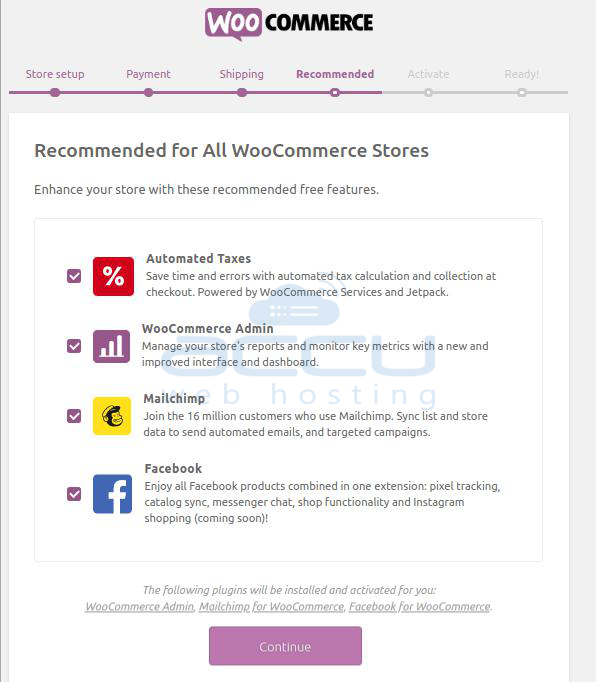
12. Now, you are at the final step.
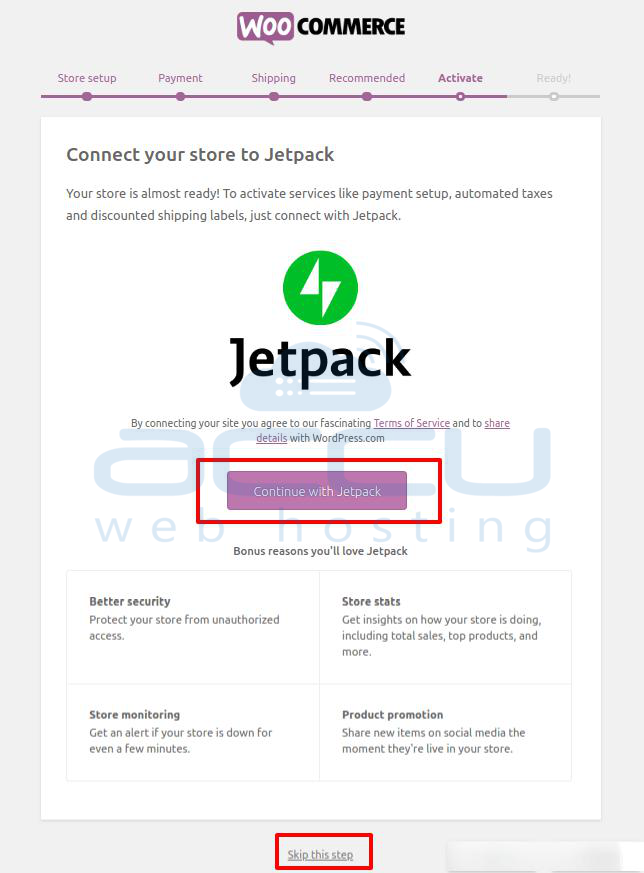
It will ask you to Continue with Jetpack, providing additional features like live rates and automatic taxes. If you don't want Jetpack, skip it by clicking the Skip this step button.
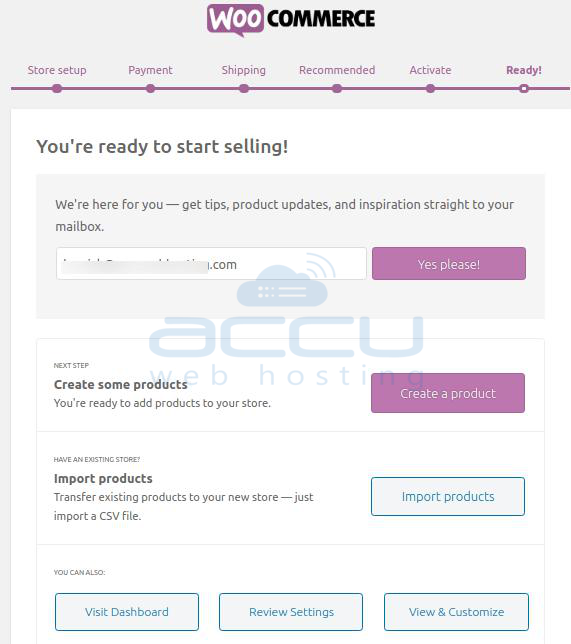
13. Your installation is almost finished.
14. Enter your email account to receive tips and updates from WooCommerce.
We recommend that you check the official URL of WooCommerce to view all the options.
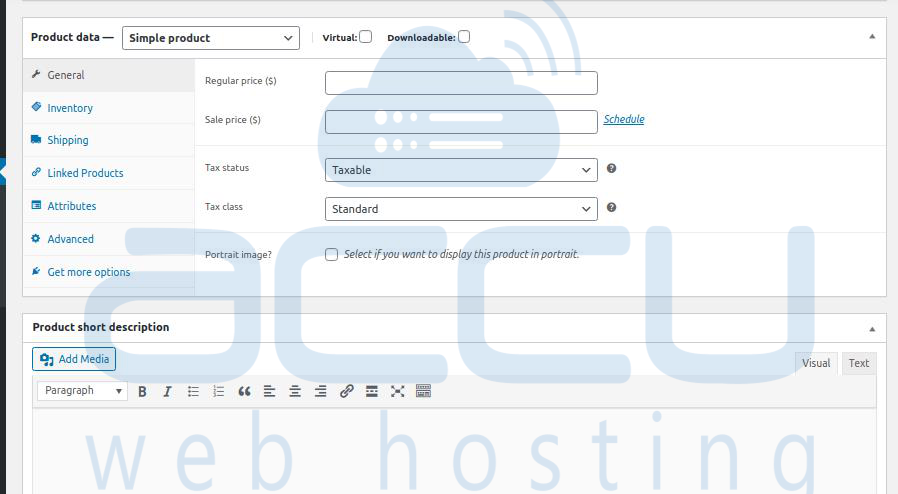
14. To add the product to your store, you can go to WooCommerce >> Add New and Add New Product. 
You will have successfully installed WooCommerce for your WordPress by implementing all the steps mentioned above.
