WordPress is one of the most used CMS in the world. Recent stats indicate that nearly 90 percent of all hacked websites were WordPress sites. But we can prevent such issues by restricting the IP Addresses on the WordPress Dashboard.
>There are two methods to set IP Address restrictions:
- Adding an .htaccess to restrict IP Address
- Adding plugins to block an IP Address
Method 1: IP Address Restriction with .htaccess
We can add an .htaccess file inside the wp-admin directory and add the content given below:
# order deny, allow
# Replace the below x.x.x.x with your IP address #
allow from x.x.x.x
deny from all
Then add the IP address from which you want to allow WordPress admin access.
Method 2: Plugins to Restrict IP Address
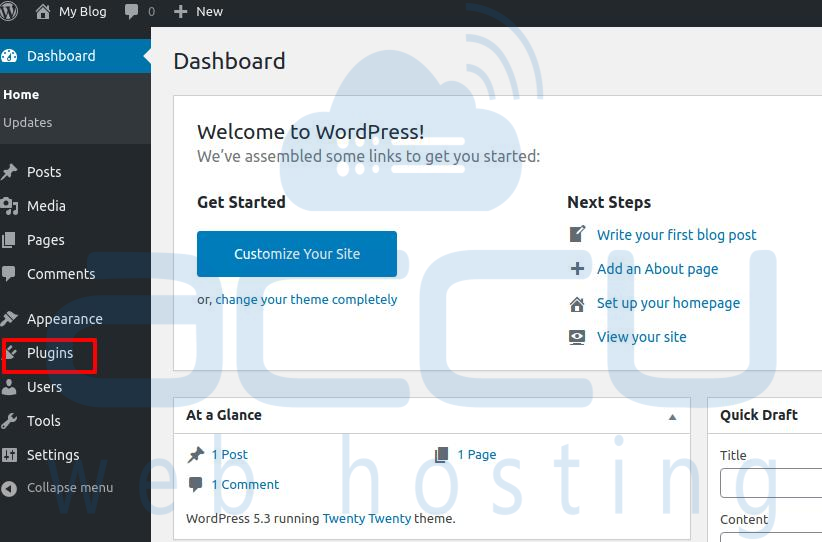
Step 1: Log in to WordPress Dashboard.
Step 2: Click on Plugins.
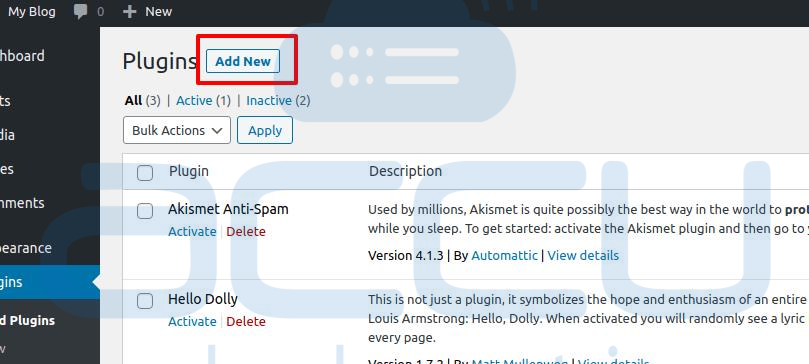
Step 3: Adjacent to the Plugins option, click on Add New.
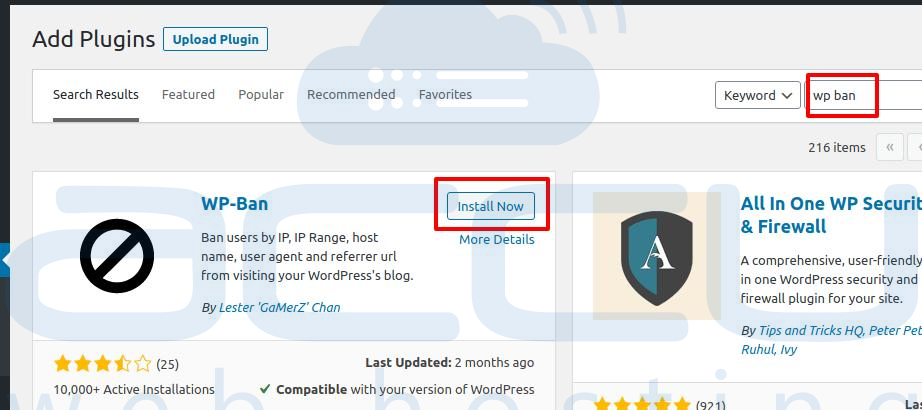
Step 4:Type WP Ban in the box beside the Keyword.
Step 5: Install and activate the same Plugin.
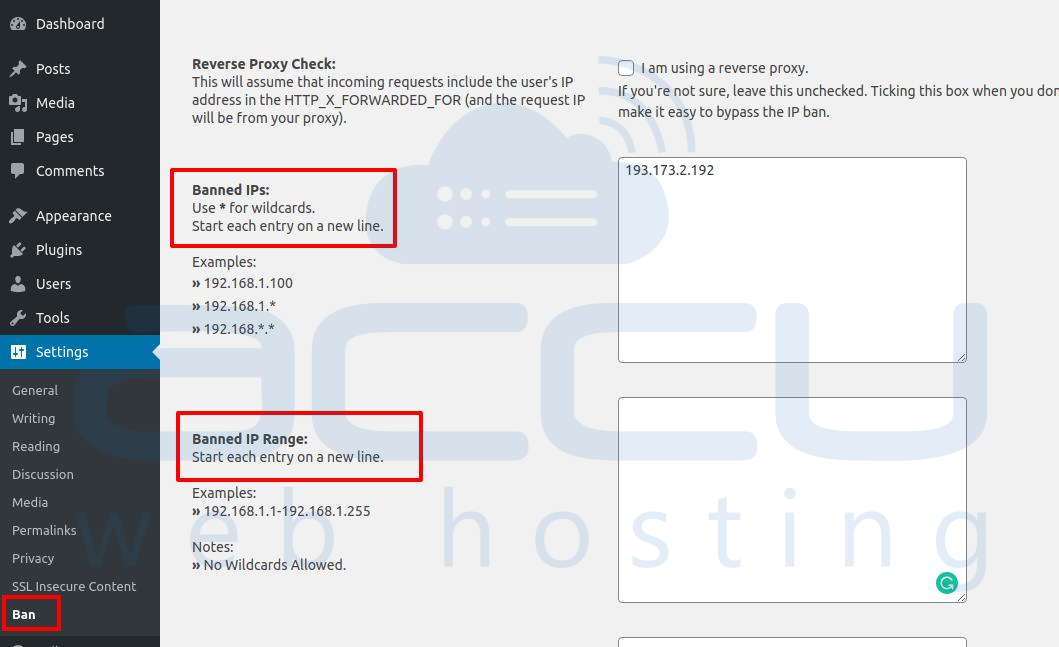
Step 6: Now, click on Settings and then click on the Ban button. Here, you can add IPs or IP ranges in the respective boxes as given in the screenshot below:
Step 7: Click on Save Changes.
