Before proceeding further with the steps for LiteSpeed Cache installation, let’s first understand the concept of browser caching.
In simple words, whenever a user accesses any website page, some of the contents of that page are stored in the cache. If the user reaccesses this page from the same system, the browser page content will be delivered from the browser cache without a new HTTP request to the web server so the page can load faster. Additionally, a few plugins for WordPress utilize browser caching functions to make your website faster.
WordPress LiteSpeed Cache, available only if you have a LiteSpeed web server, is a site acceleration plugin that can be installed to ensure high page speed for your website. You can enable LiteSpeed from WHM directly.
The steps below will guide you through enabling the LiteSpeed Cache Plugin in WHM:
Step 1: Log in to WHM. Generally, the WHM URL is https://IPAddress:2087.
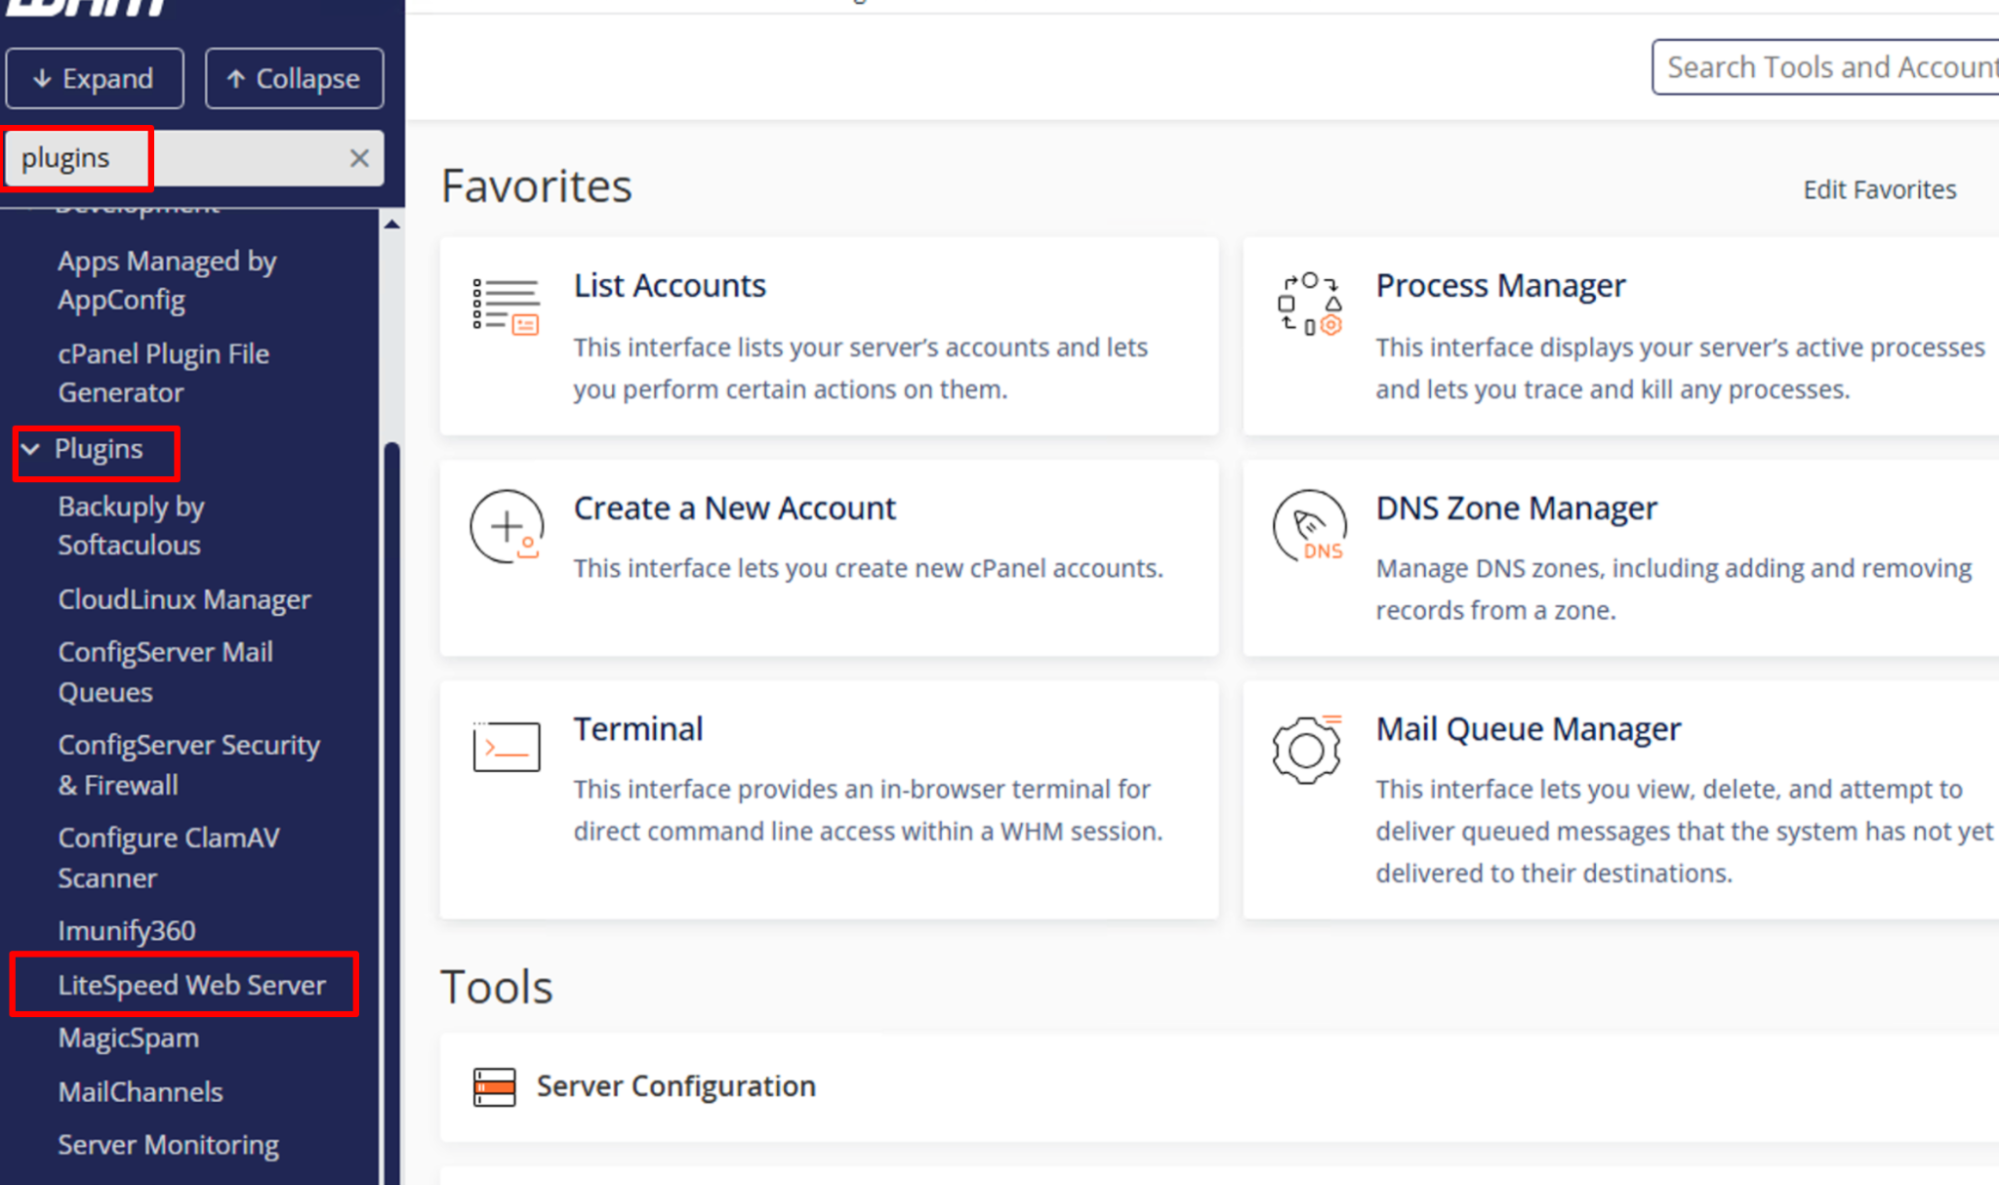
Step 2: Navigate to the Plugins section.
Step 3: Click on LiteSpeed Web Server.
Step 4: To enable the LiteSpeed Cache for all WordPress installations, click on Mass Enable/ Disable Cache.

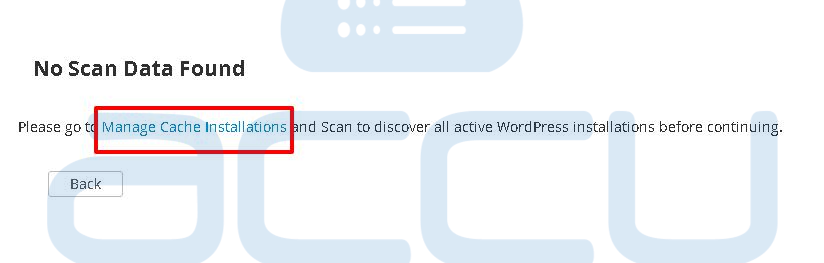
Step 5: Now, click on Manage Cache Installations. Once you click on that, it will allow you to scan the WordPress installation.
Once you successfully install the Lite Speed Cache for all the WordPress websites, their performance will increase significantly.
Conclusion:
Once LiteSpeed Cache is enabled, all WordPress websites on the server will benefit from improved speed and performance. This ensures faster loading times, better user experience, and optimized server resource usage.
