You do not need to log in to the eNom control panel to manage your nameservers. All nameserver-related actions can be performed directly from your Client Area.
This article explains how to register and configure custom nameservers (also known as private or child nameservers) using the Client Area. These custom nameservers allow you to use branded nameservers such as ns1.yourdomain.com and ns2.yourdomain.com for your domain.
Register Custom Nameservers for Your Domain
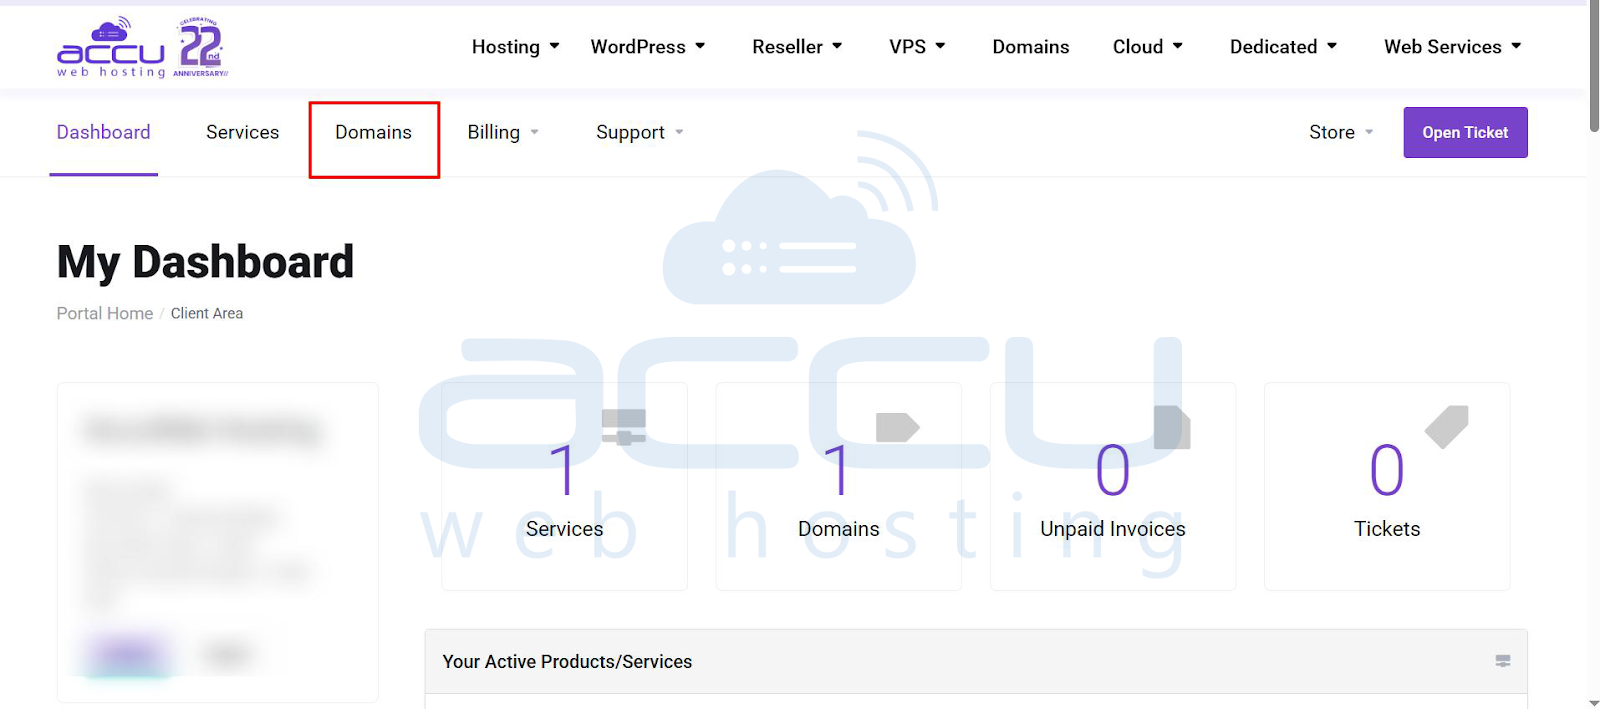
1. Log in to the client area.
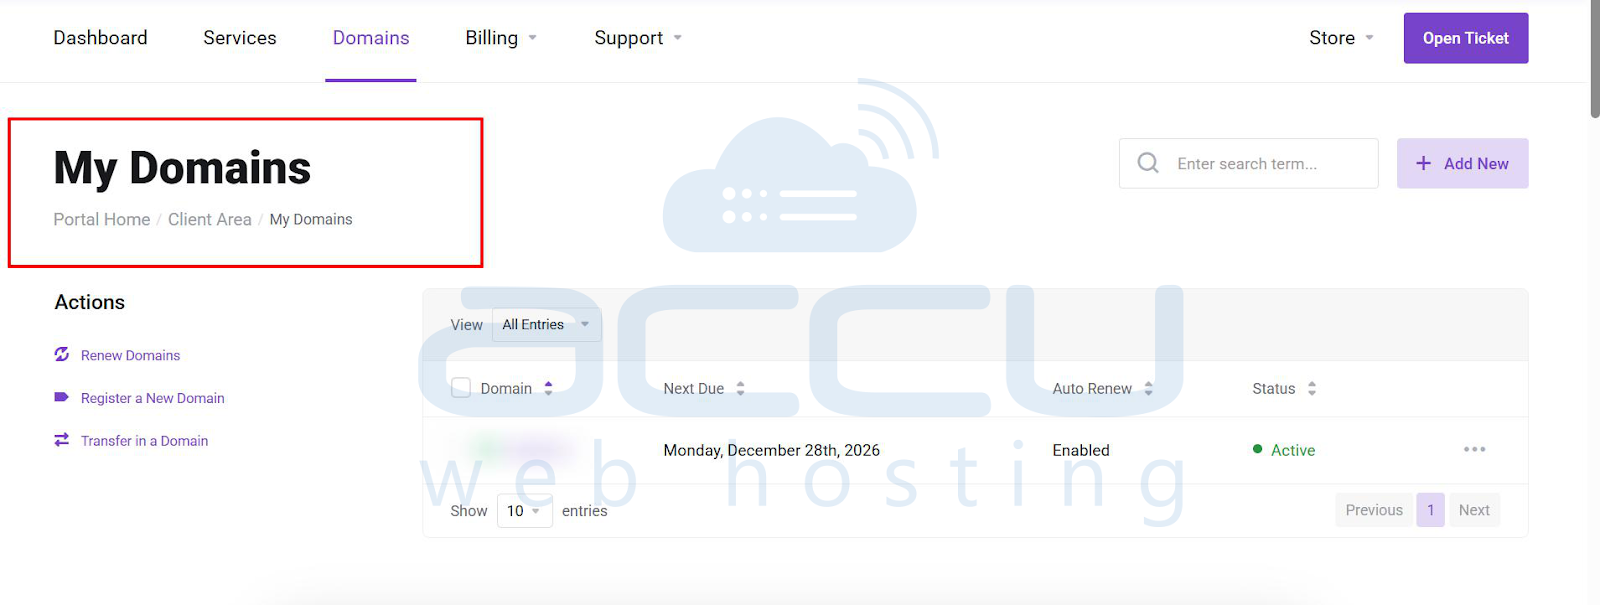
2. Navigate to Domains → My Domains.
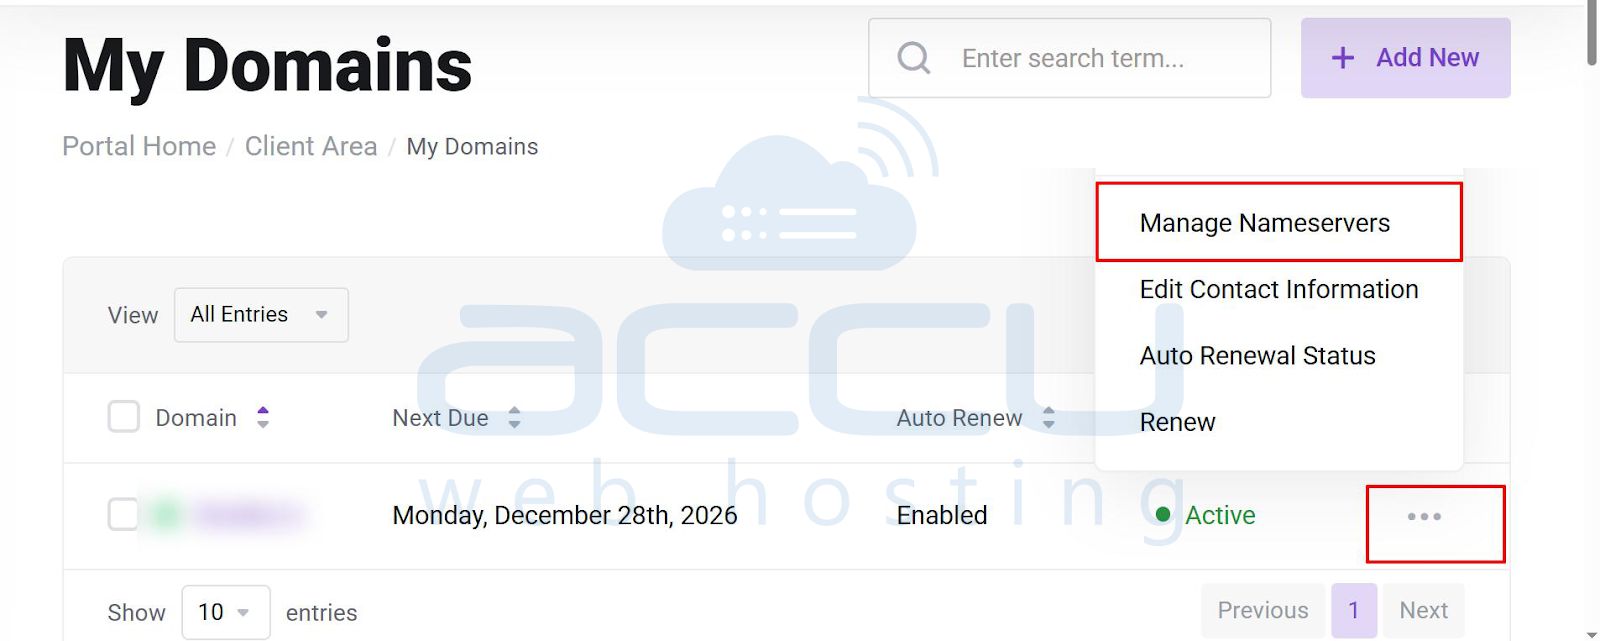
3. Locate your domain name, click the three dots on the right-hand side, and select Manage Nameservers.
4. From the left-hand panel, click Private Nameservers.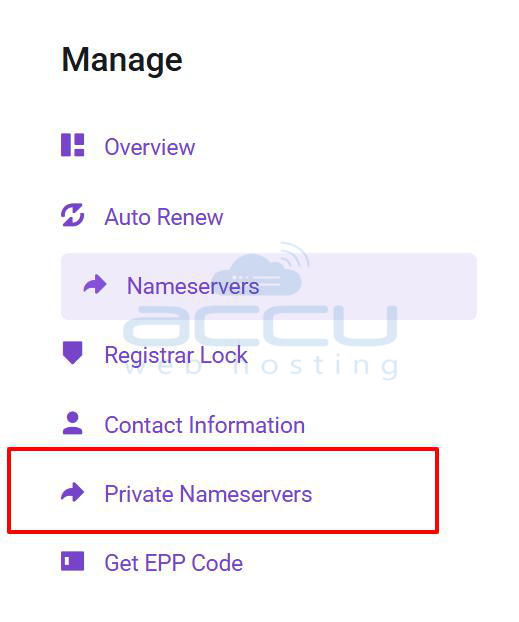
5. Under Register a NameServer Name, enter ns1 in the Nameserver field.
6. Enter the IP address of your VPS.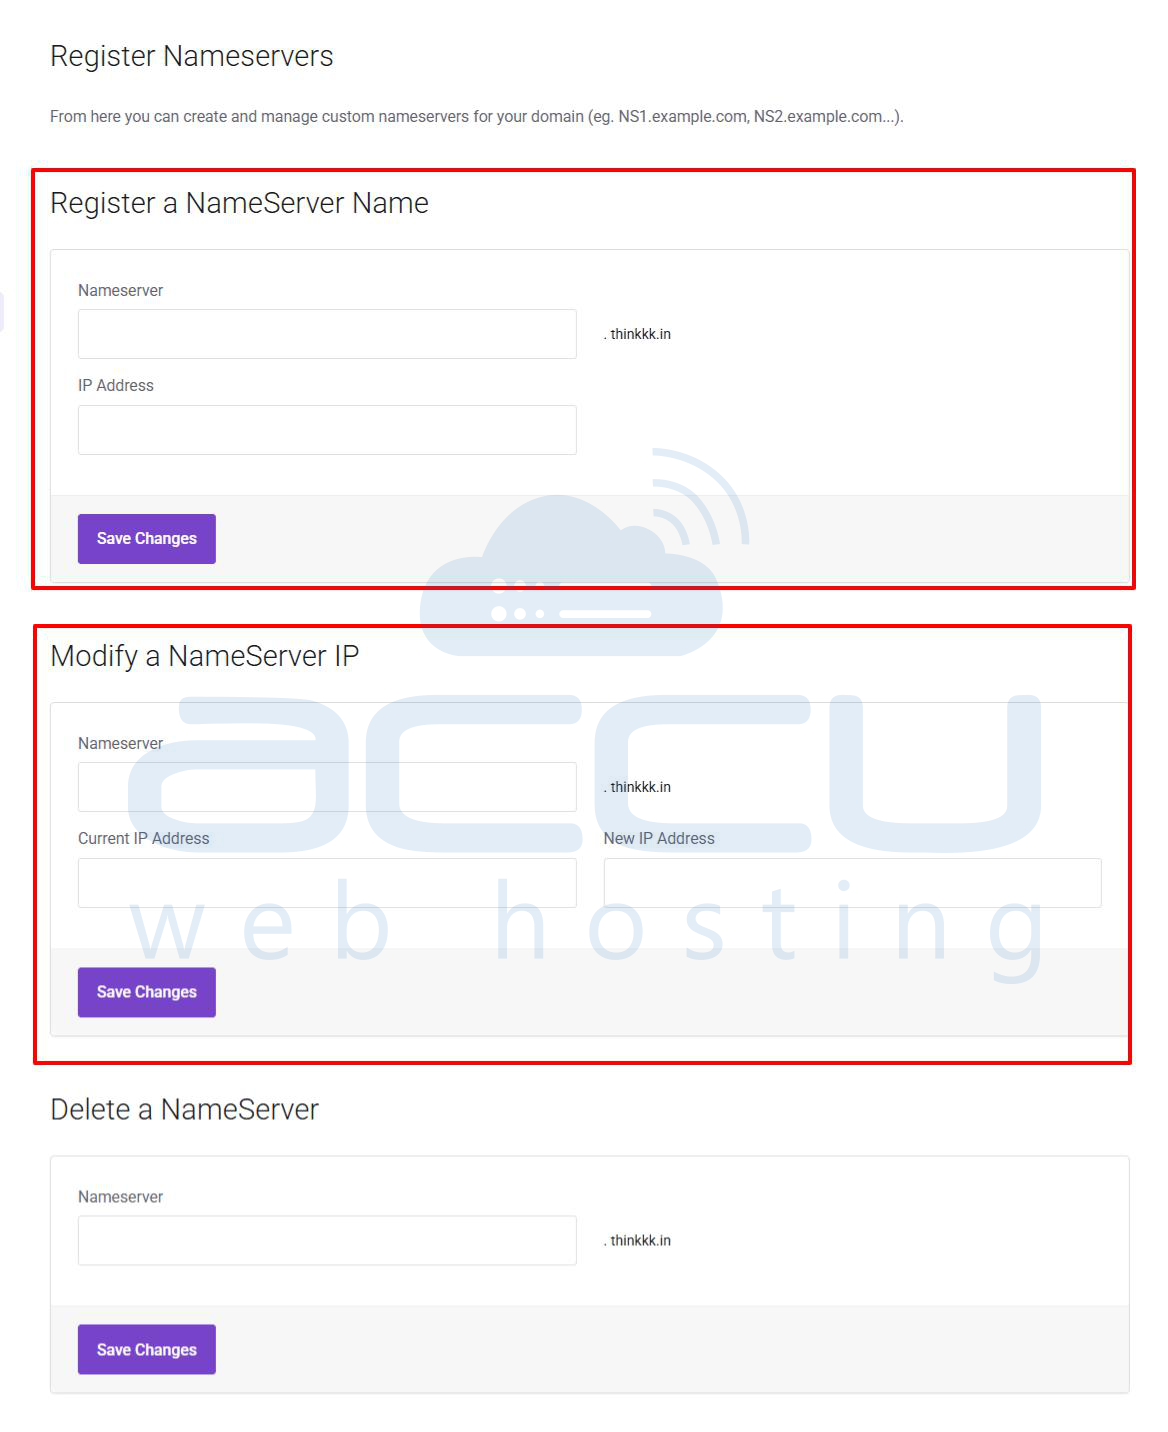
7. Click Save Changes.
8. Repeat Steps 5 and 6 to register ns2, using the same VPS IP address.
Set Custom Nameservers for Your Domain
Once nameservers have been registered, you can assign/set these private nameservers to the domain. To do that, perform the following steps.
1. Click the Nameservers link in the left-hand panel.
2. Select Use custom nameservers.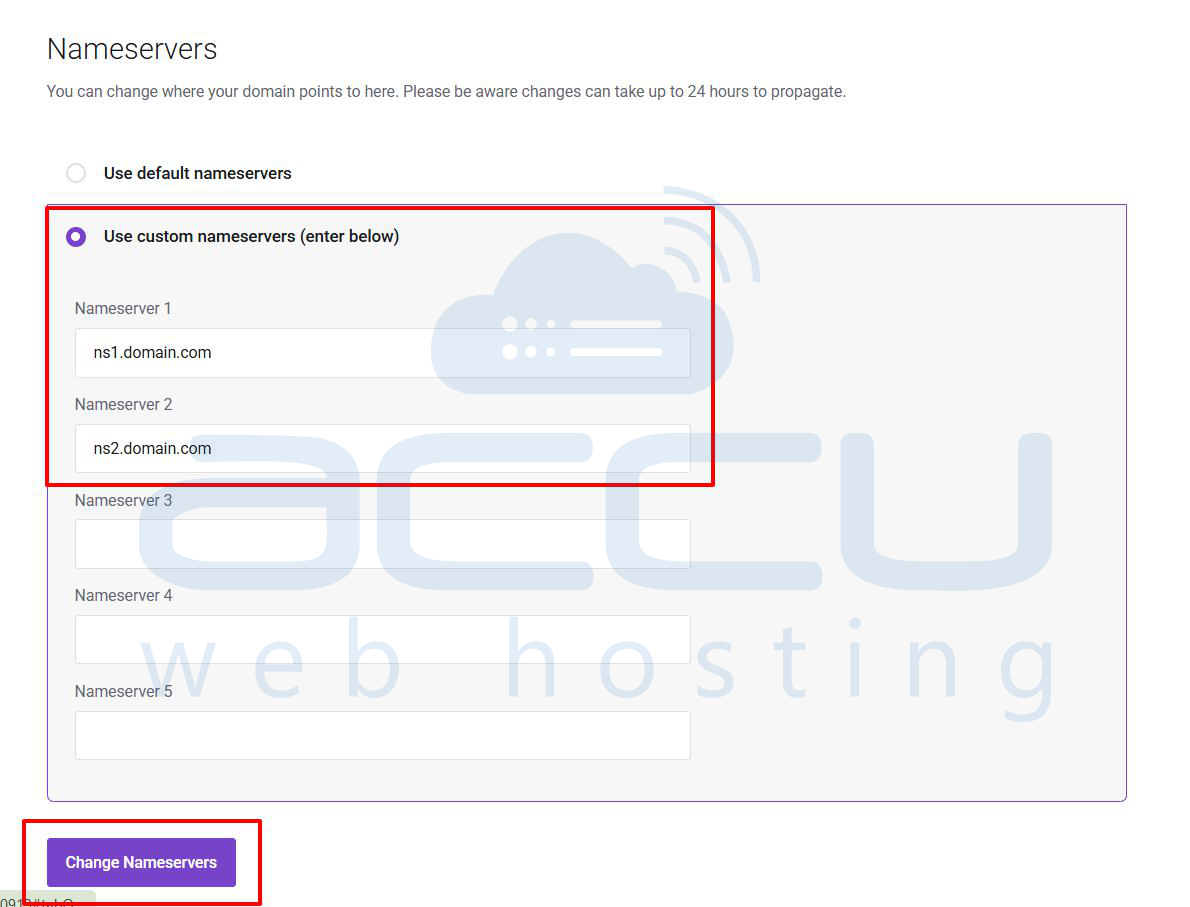
3. Enter your private nameservers in Nameserver 1 and Nameserver 2.
4. Click Change Nameservers.
Note: Nameserver changes may take 24 to 48 hours to propagate globally.
Conclusion
Updating your nameservers is a simple yet important step for connecting your domain to your hosting provider. Once the correct nameservers are saved, your website, email, and other domain-related services will start working through the new hosting platform.
Keep in mind that DNS changes are not instant and may take some time to propagate across the internet fully.
