Moving your website to AccuWebhosting doesn't have to be hard, just choose the right way.
One option is moving your website by yourself. This means downloading your backups, putting them on the new server, and pointing your domain name to the new server.
Another choice is asking the new web host for help with the transfer. We suggest this if you're new to this or if you're busy and not very tech-savvy.
In this article, we'll explain how to move your web hosting from one company to AccuWebhosting on your own.
Step 1: Log in to your cPanel account.
Step 2: Click on "Files" and choose "Backup."
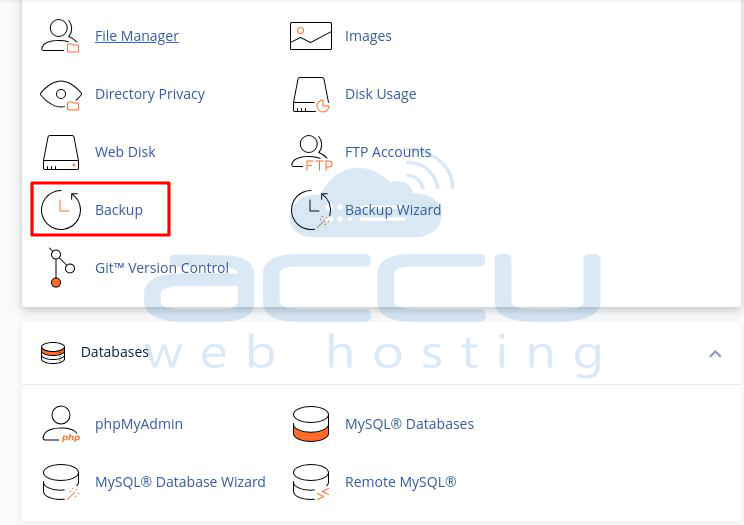
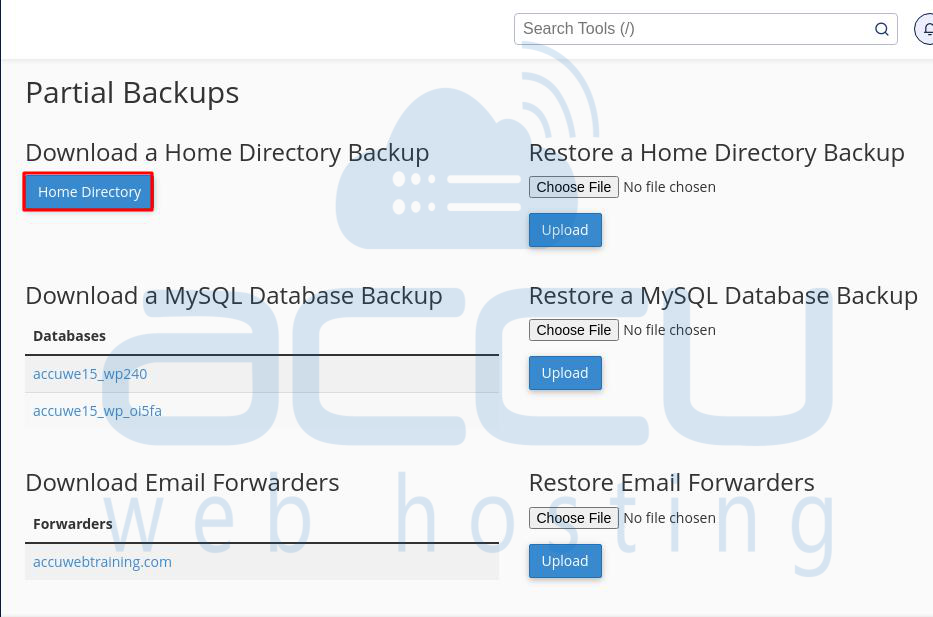
Step 3: In the backup window, find "Partial Backups" and click on "Home Directory" to download the home directory backup in the local system.
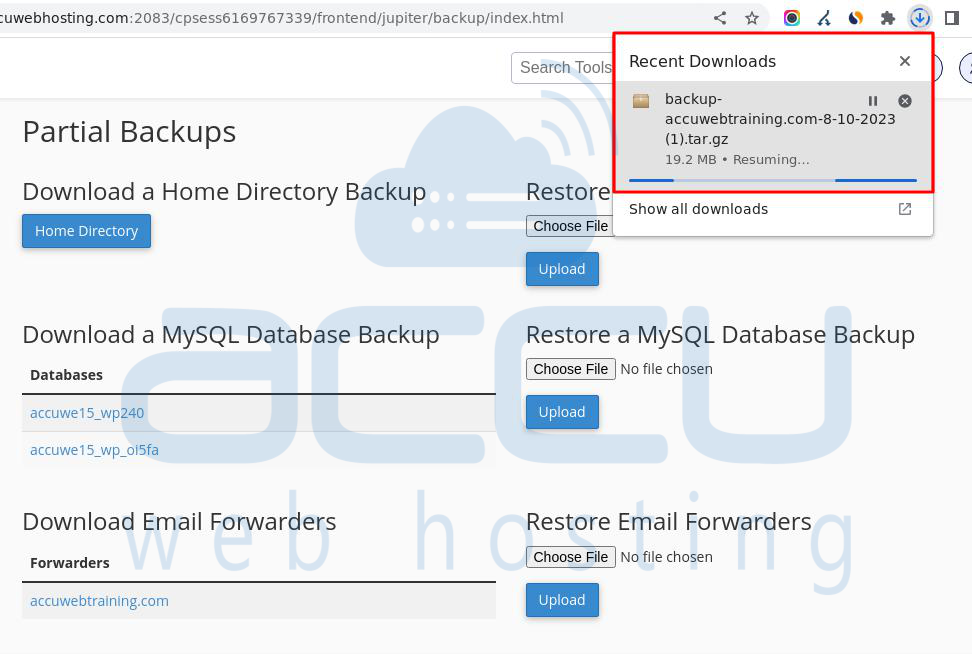
Step 4: Once clicked, the download will start and show on the upper right side of the window.
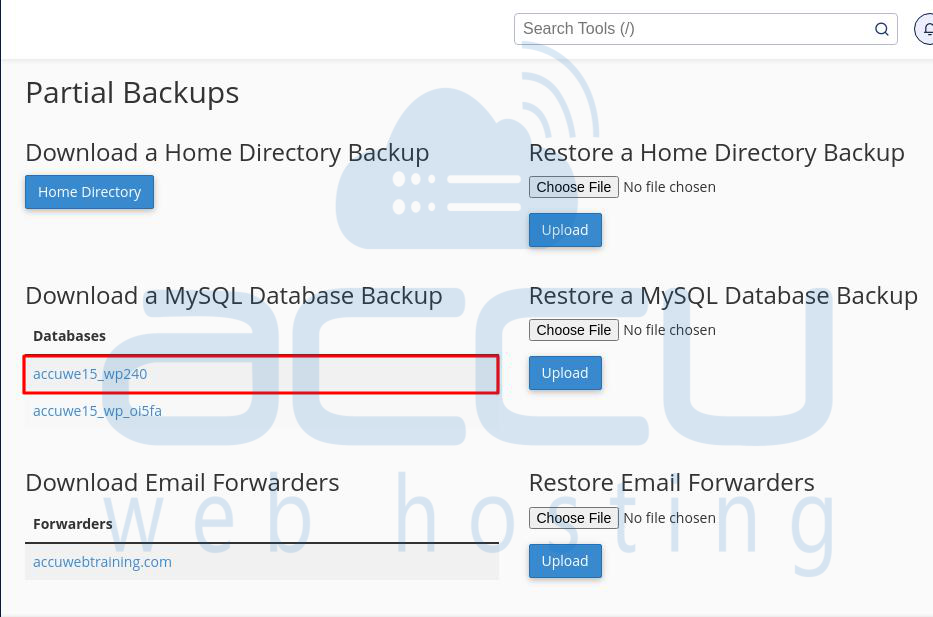
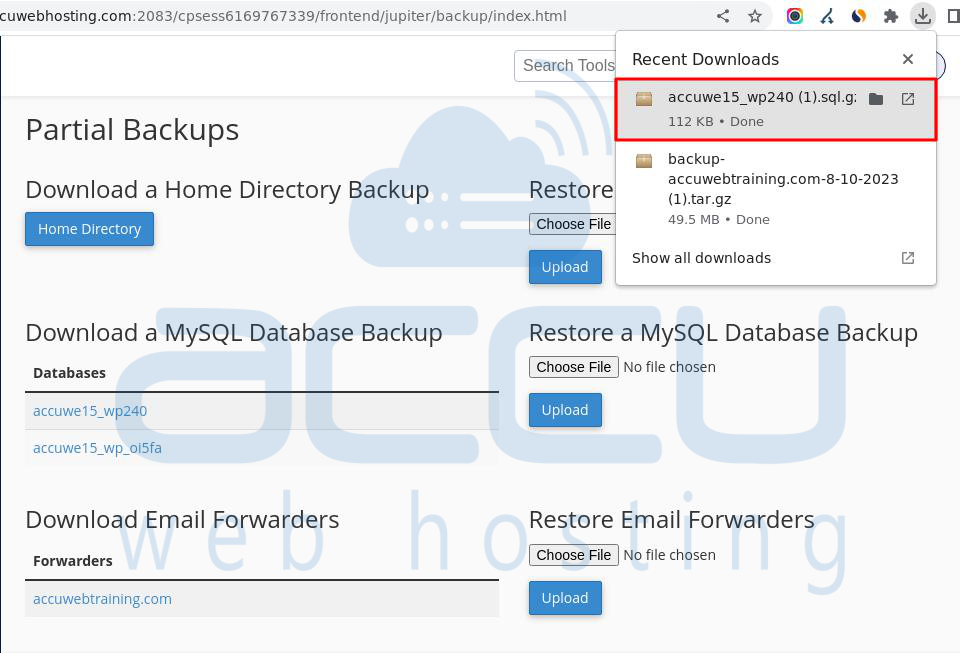
Step 5: Go to "Download a MySQL database." You'll see databases you made in cPanel. Choose the one you want and download it to your computer.
Step 6: Once clicked, the download will start and show on the upper right side of the window.
Step 7: Now, open cPanel on a new host.
Step 8: Under "Files," click "Backups."
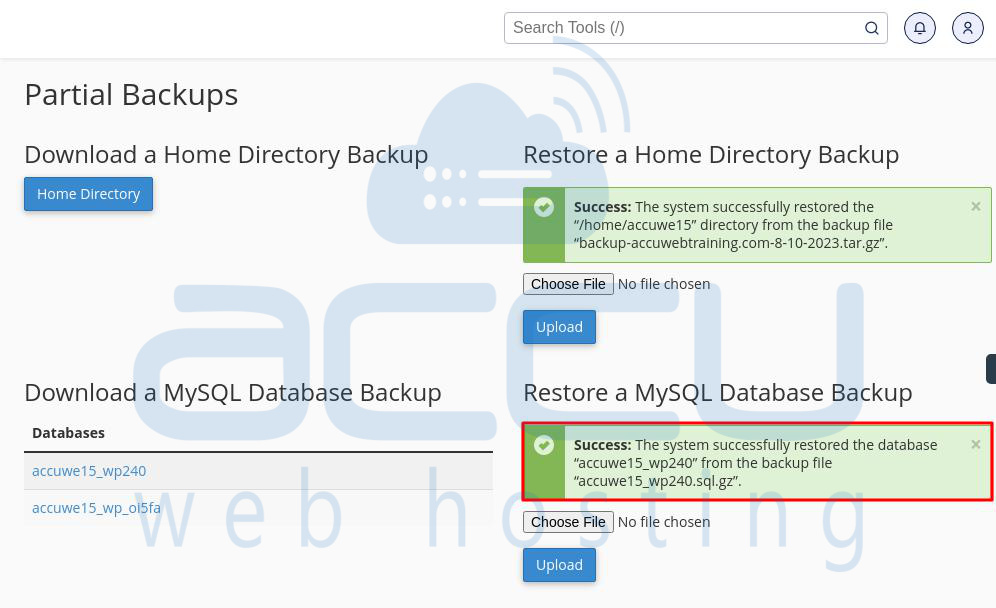
Step 9: Choose "Restore a Home Directory Backup" under "Partial Backups." Click "Choose File," pick the backup from your computer.
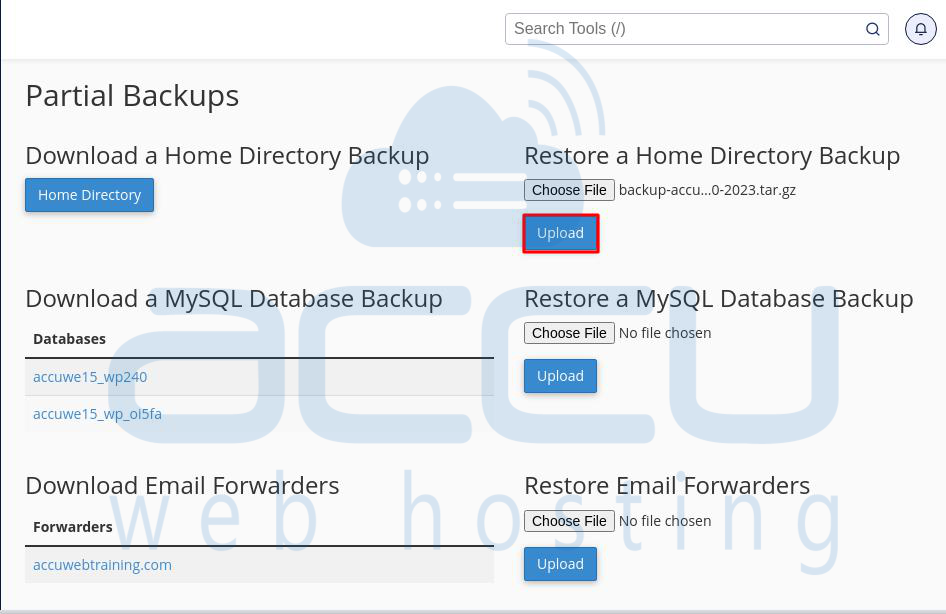
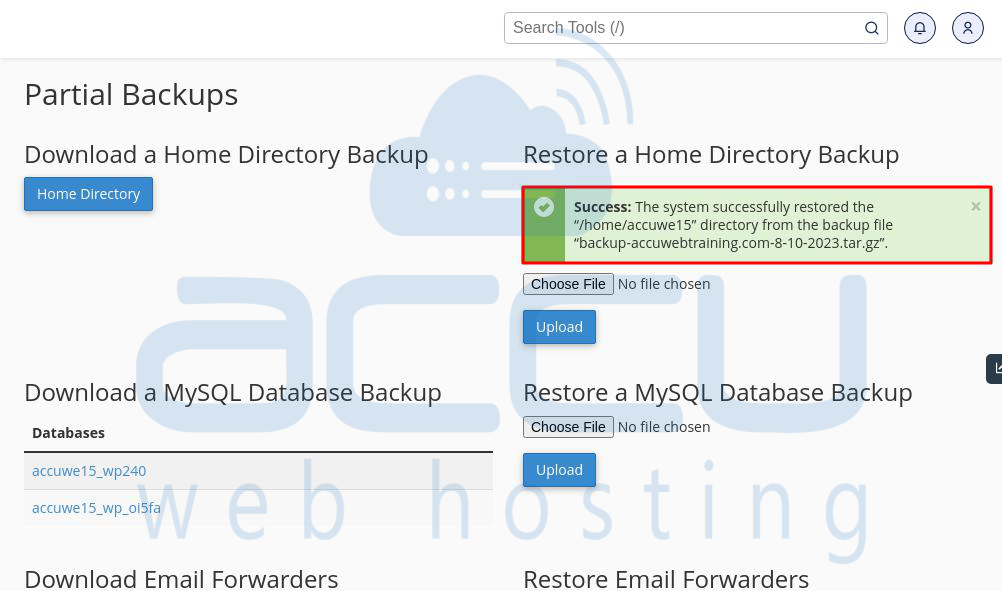
Step 10: Click "Upload" to upload the home directory backup. Once the upload is successful, a message confirming success will appear just above the "Choose File" option.
Step 11: Use "Restore a MySQL Database Backup." Choose a database file from your computer using "Choose file."
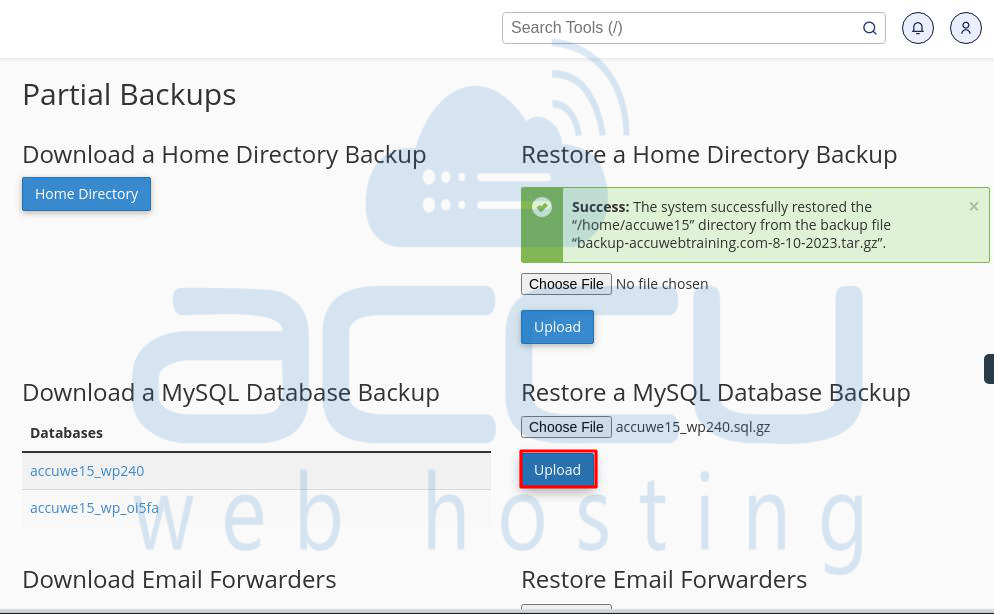
Step 12: Click "Upload" to put the database backup. Once the upload is successful, a message confirming success will appear just above the "Choose File" option.
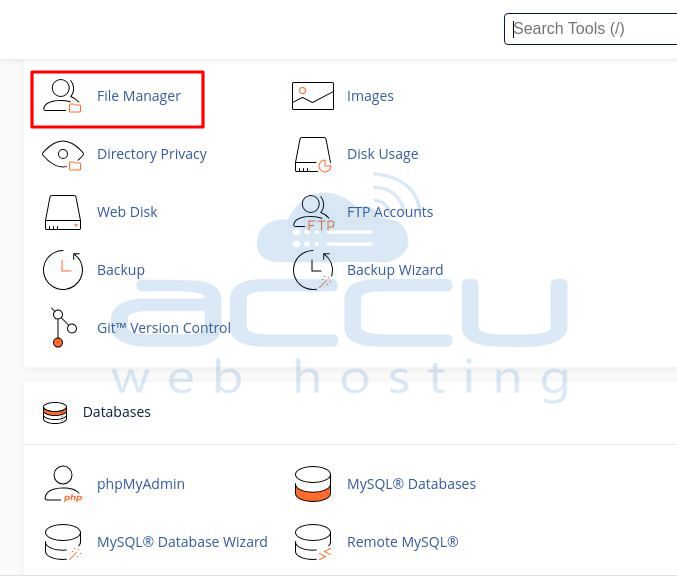
Step 13: Click "File Manager" in "Files" section.
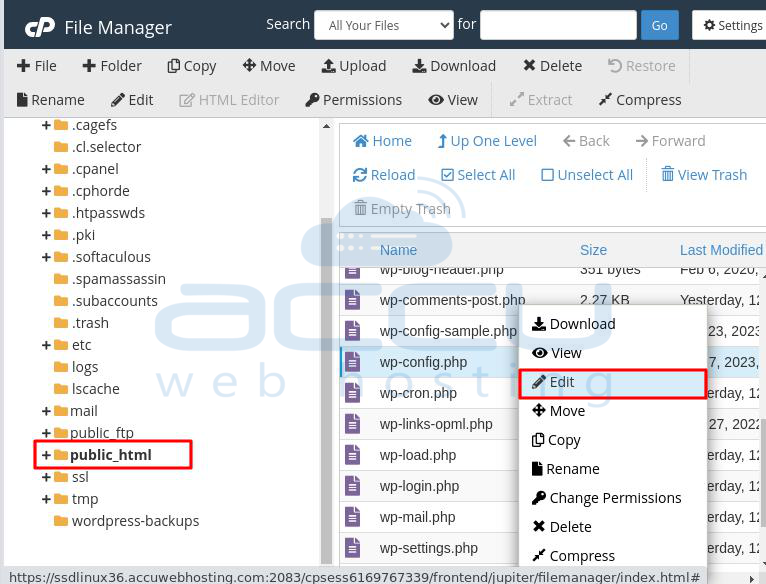
Step 14: Open the "public_html" folder. Find and open "wp-config.php."
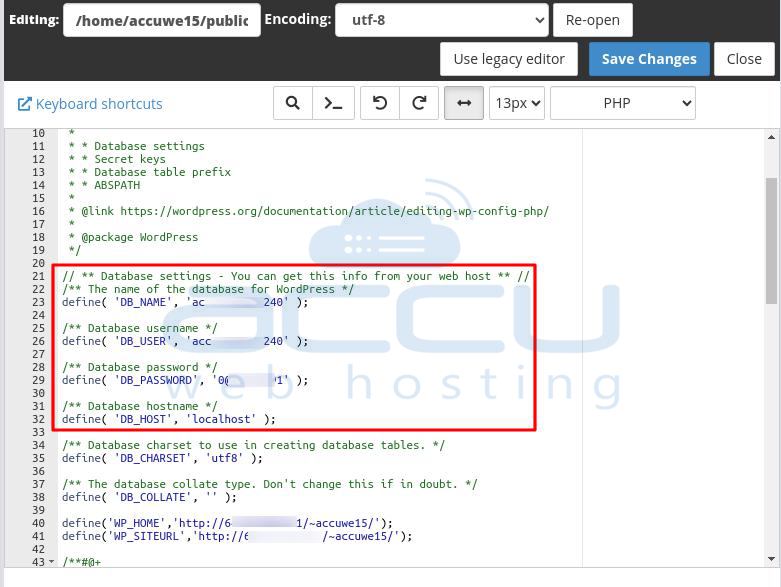
Step 15: Change Database Name, User, Database, and Password. Then, tap "Save Changes" to save.
Step 16: Now, it's time to check. Verify content using the temporary URL: http://server-ip-address/~cpanel-username/
Step 17: Once everything's good, switch nameservers or update A records to direct your WordPress to the new host.
Note: DNS changes may take 12 - 24 hours to propagate around the world.
That's all.
