Integrating Mailchimp with WordPress is one of the most innovative ways to grow your audience, automate follow-ups, and keep your subscribers engaged. Mailchimp gives you powerful tools like customizable signup forms, automated emails, and in-depth analytics. From building your subscriber list to running targeted WooCommerce campaigns, this integration streamlines your workflow and helps turn casual visitors into loyal customers.
In this guide, we’ll walk you through everything you need to know about integrating Mailchimp with WordPress.
How to Integrate Mailchimp With WordPress?
Method 1: Integrate MailChimp with WordPress Using Inline Code
Step 1: Create a Form
To start, you need to create an account on Mailchimp. You can use it for free for 14 days, after which you will have to pay for their service.
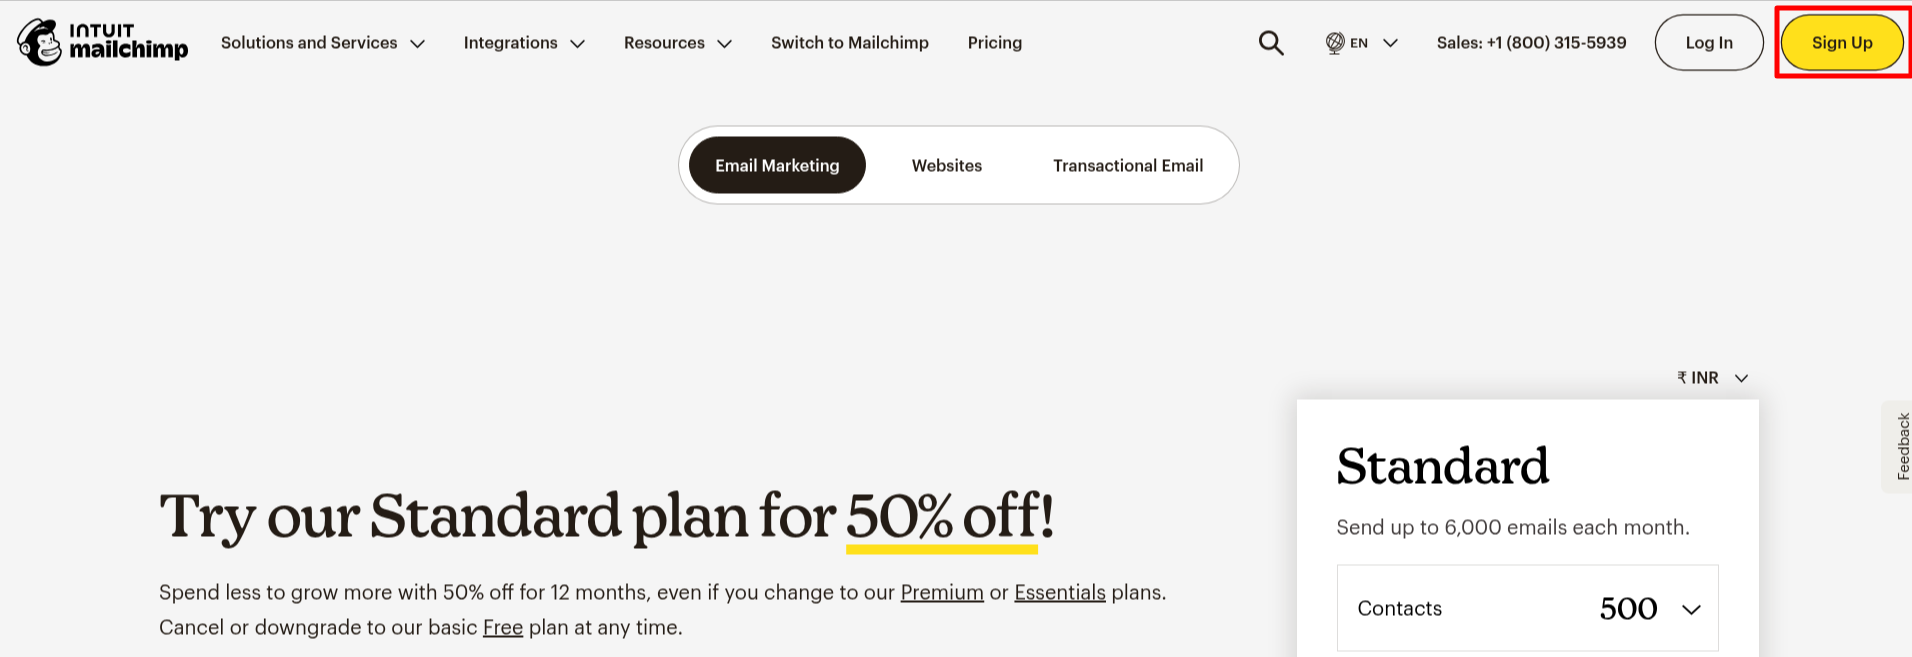
1. Visit the MailChimp website and click on the Sign Up button in the top-right side of the page.

2. Next, it redirects you to a pricing page, where you can compare different plans. Here, you will have to click on Sign Up again.
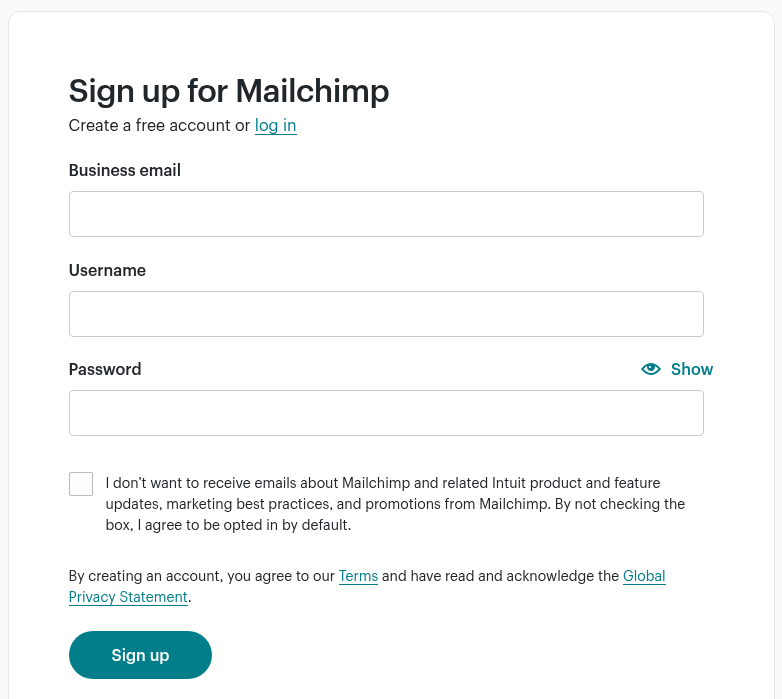
3. The pop-up will ask you to add a business email address, username, and password.
If you want to receive their emails and other product-related updates, you can also check the checkbox.
4. After the sign-up, it will redirect you to a Mailchimp dashboard.
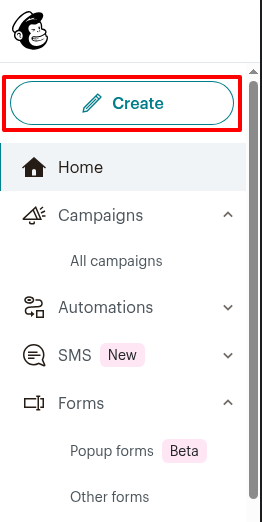
5. Next, click on the Create button from the sidebar.
6. Next, click on Signup Form > Embedded form.
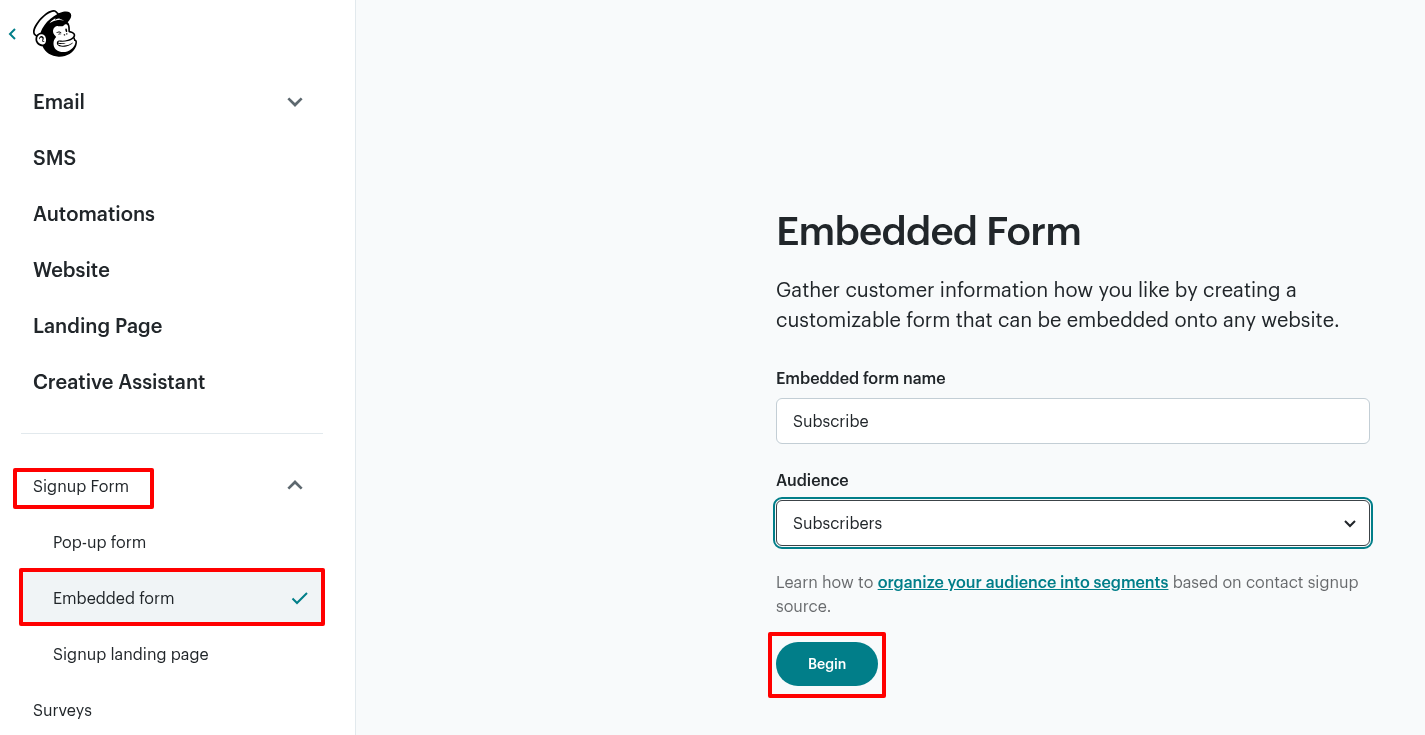
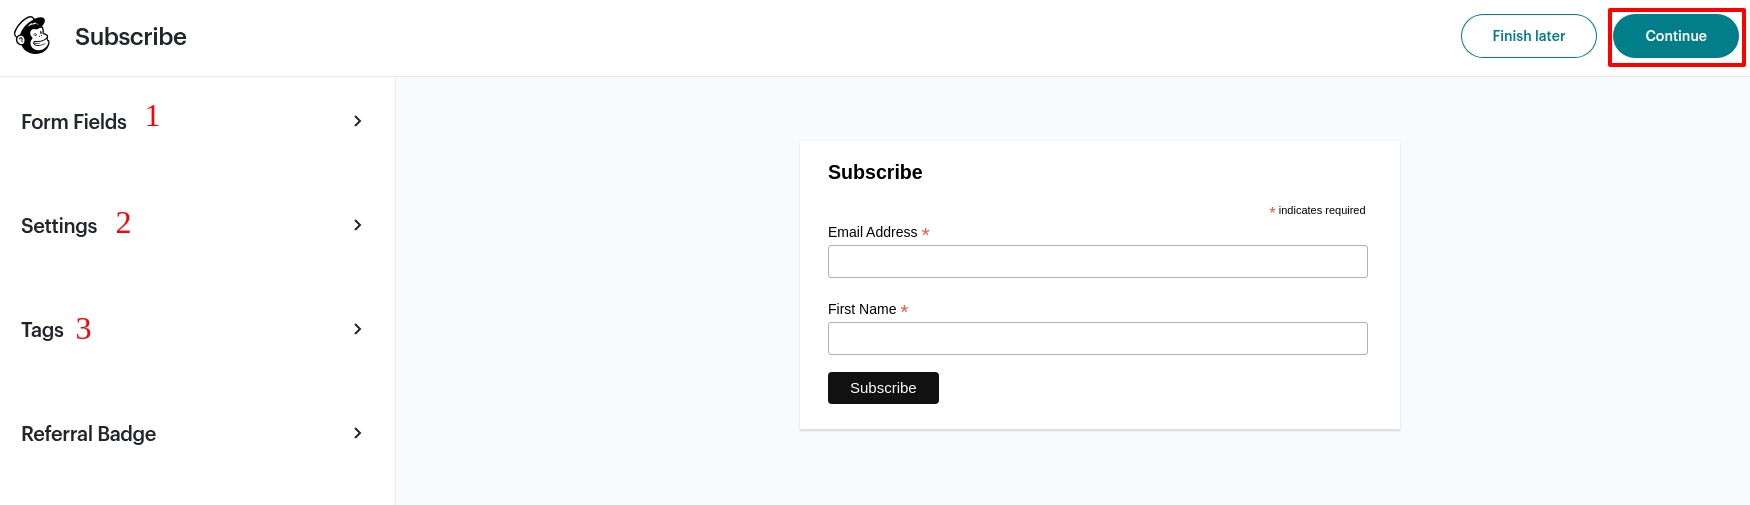
7. Choose the form fields and tags, then set their order and specify the mandatory fields.
8. Click on Continue.
9. You will see a code on the next screen representing your customized form. Copy that code.
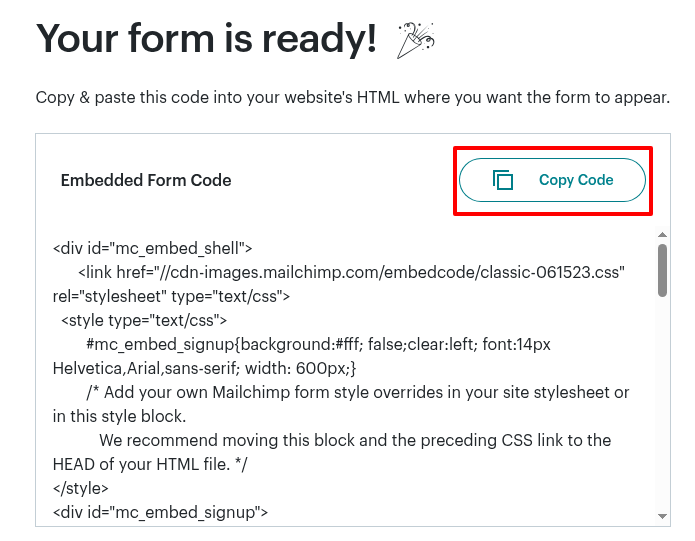
Next, paste the copied code to test whether it works correctly in your post or page.
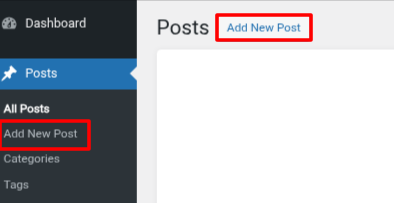
10. Log in to your WordPress dashboard.
11. Choose the post or page where you want to add the form (I am creating a new post here).
12. In the post/page, open the Block Editor and choose custom HTML.
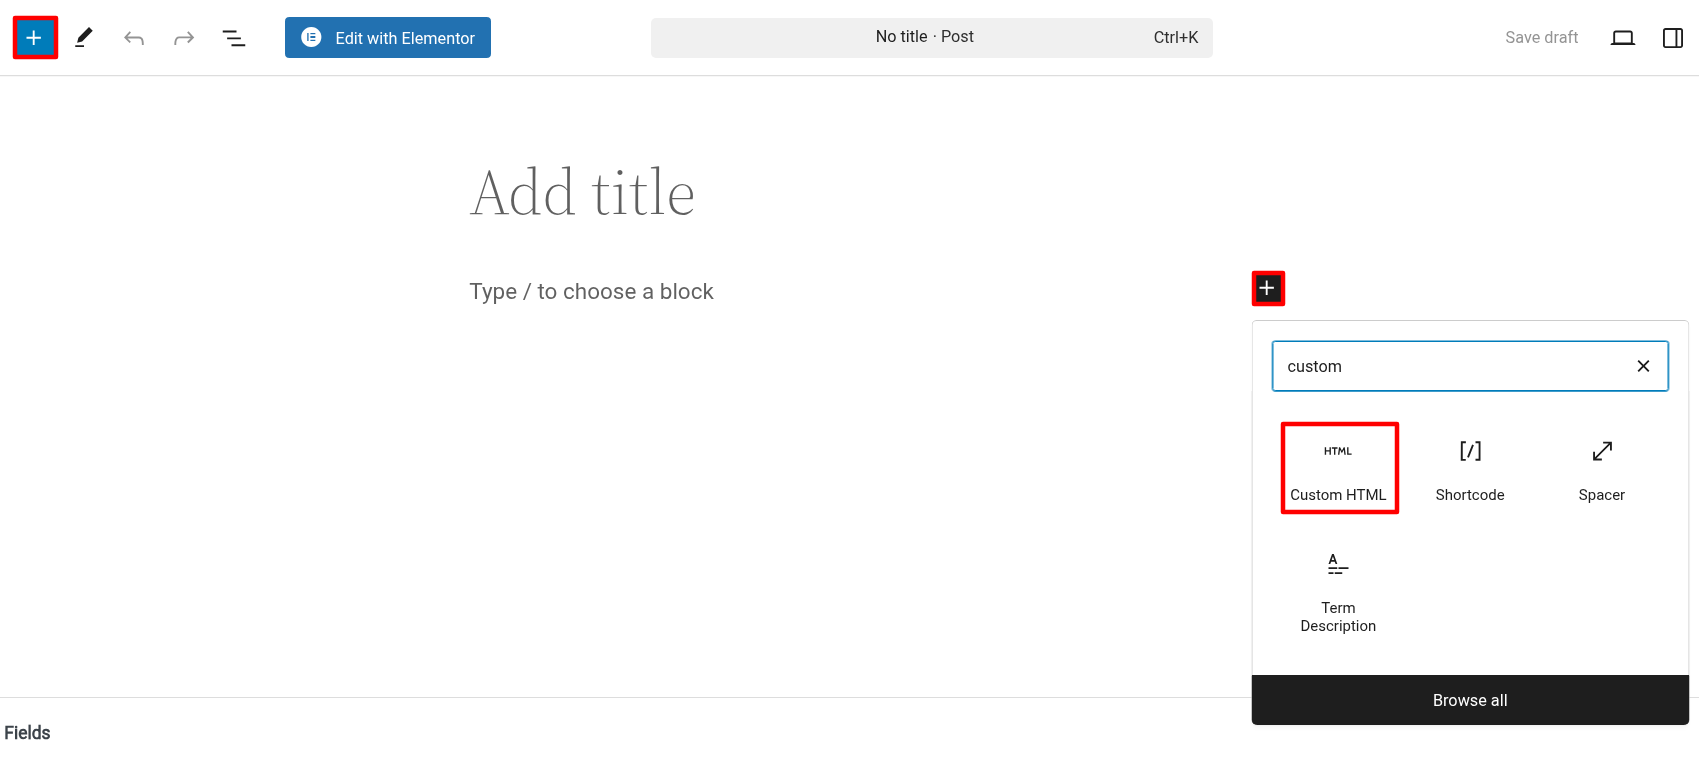
13. Next, paste the copied code into custom HTML and click on the Publish button.
14. View your post.
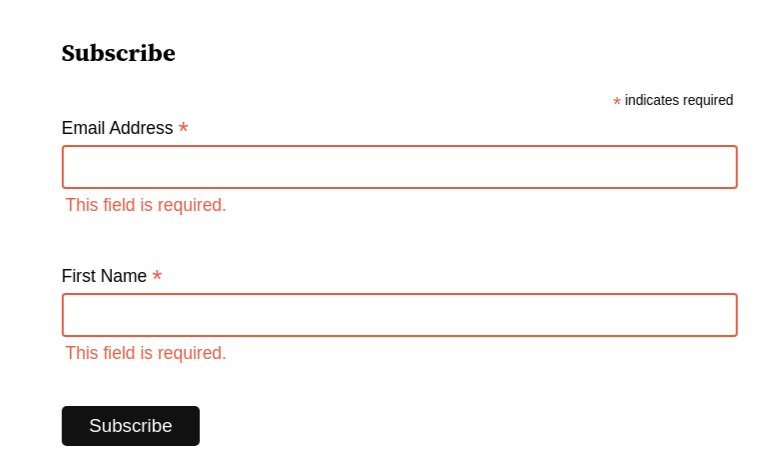
If we enter our details and click subscribe, nothing will happen because our website hasn't been connected to MailChimp yet.
Step 2: Connect MailChimp with Your WordPress Website
You can also watch this video to install the Mailchimp plugin and create a basic form.
1. Log in to your WordPress dashboard.
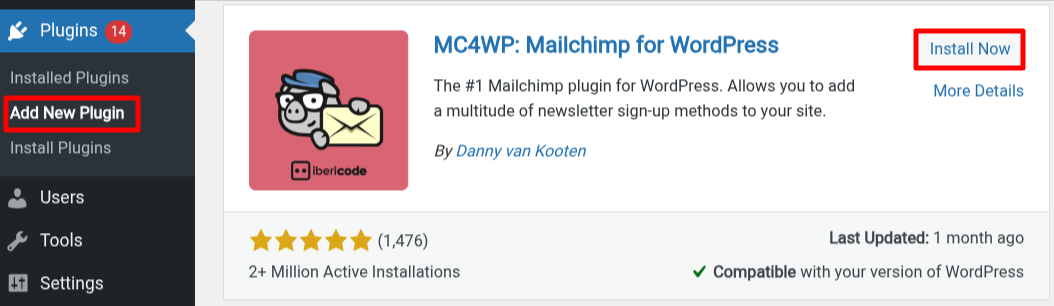
2. Navigate to the Plugins > Add New Plugin.
3. Search for “MC4WP: Mailchimp for WordPress” plugin.
4. Install and activate it.
5. Next, go to the MC4WP from your sidebar.
6. First, open the Mailchimp for WordPress plugin and click on “Get your API key here.” This will take you to Mailchimp’s website.

Here, you will see the status is “NOT CONNECTED”.
Another way:
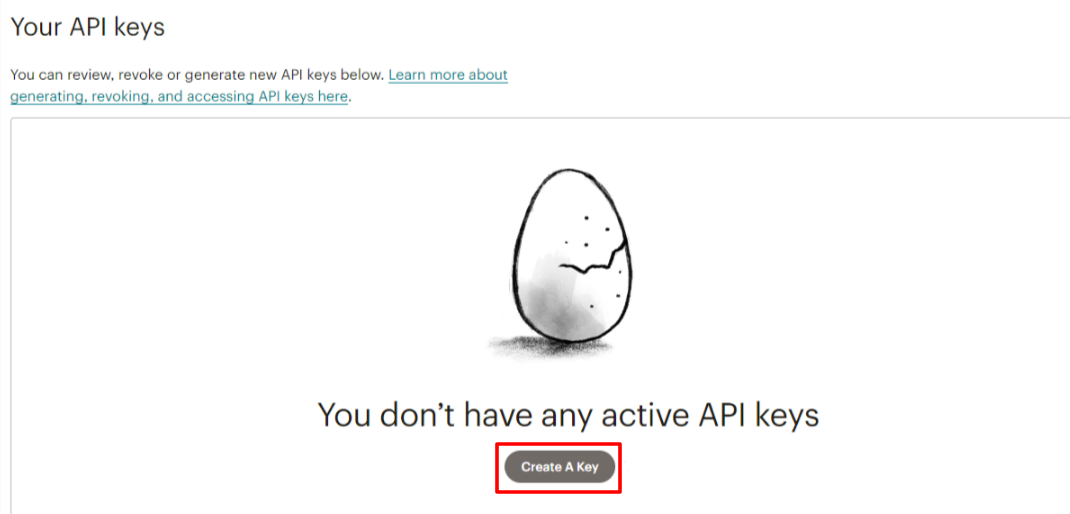
You will find your API key inside your Mailchimp profile > Extras > API Keys.

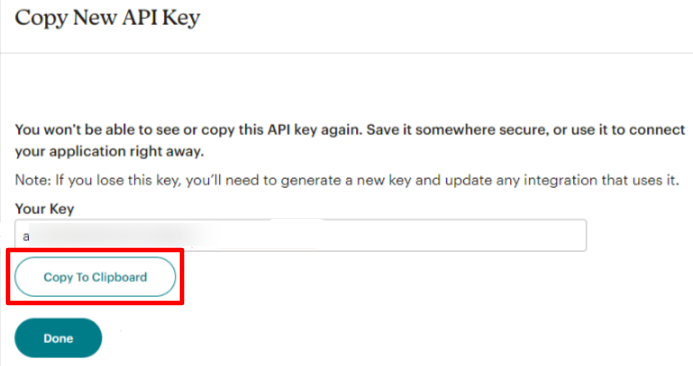
7. Click “Create A Key,”.
8. Then, add your key name and click “Generate Key.”
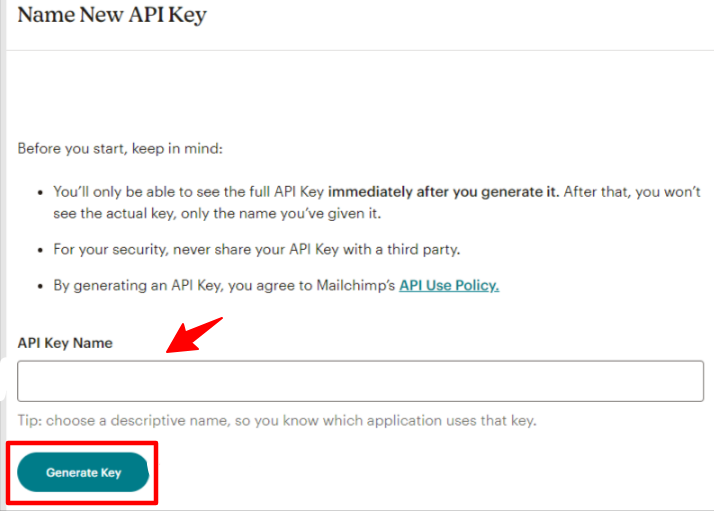
9. Copy the API key.
10. Go back to the plugin in your WordPress dashboard, paste the key, and click “Save Changes.”
11. That’s it—you’re now connected!

Now, return to the form you created and click Subscribe. You’ll see that the emails are successfully added to your Mailchimp list.
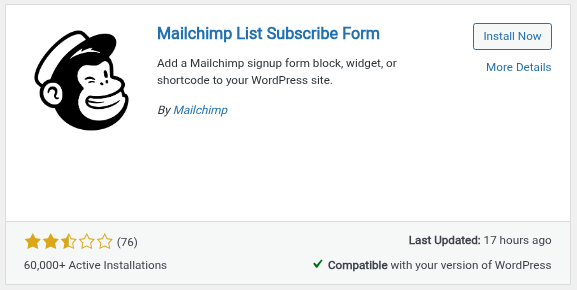
There are several alternatives to the Mailchimp plugin, including MailChimp Forms by MailMunch, Another Mailchimp Widget, and the Mailchimp List Subscribe Form.
The Mailchimp List Subscribe Form plugin is another official tool for connecting your WordPress site with Mailchimp. It has its drawbacks. It's rarely updated, doesn’t always support the latest WordPress versions, and offers limited customization options. It also has poor reviews from the WordPress community. That's why WordPress users generally don’t recommend it.
Method 2: Integrate MailChimp with WordPress Using OptinMonster
First, sign up for an OptinMonster account. Go to the OptinMonster website and create your account (you have to purchase a plan or provide card details for a free plan.).
After that:
1. Log in to your WordPress dashboard.
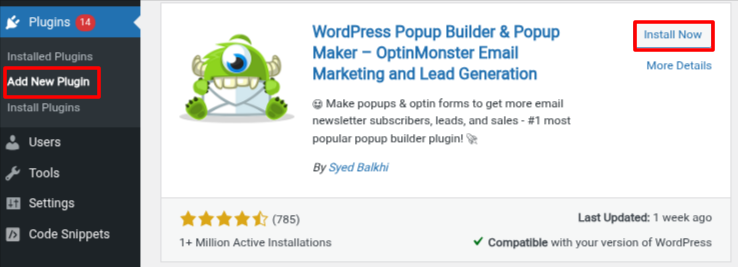
2. Go to Plugins > Add New Plugin.
3. Search for OptinMonster, then install and activate it.
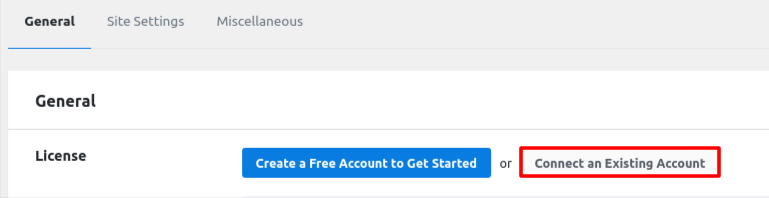
4. Go to OptinMonster > Settings and click ‘Connect on existing account’.
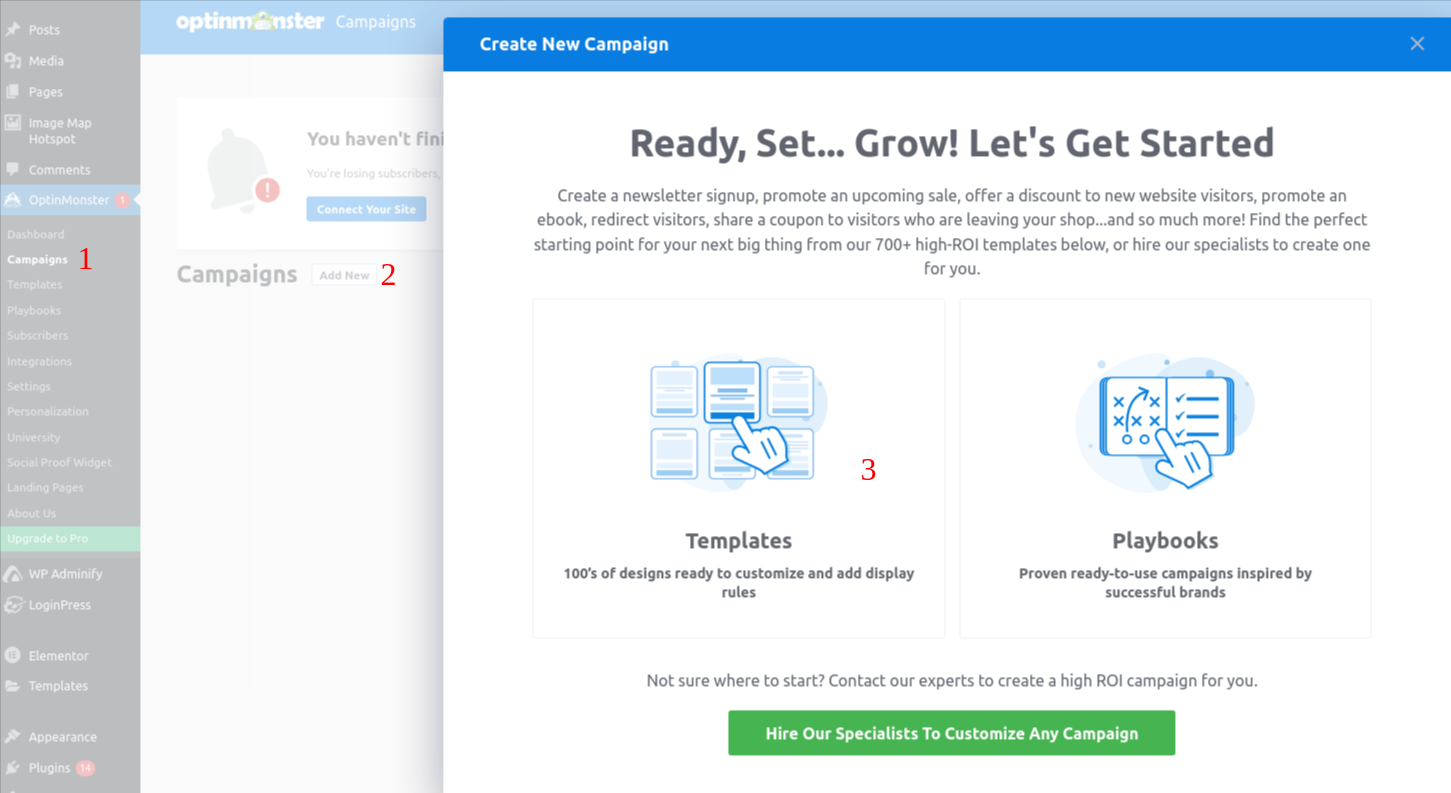
5. Go to OptinMonster > Campaigns, click ‘Add New’, and choose Templates.
Templates let you design your own campaigns, while playbooks offer ready-made designs inspired by top-performing campaigns.
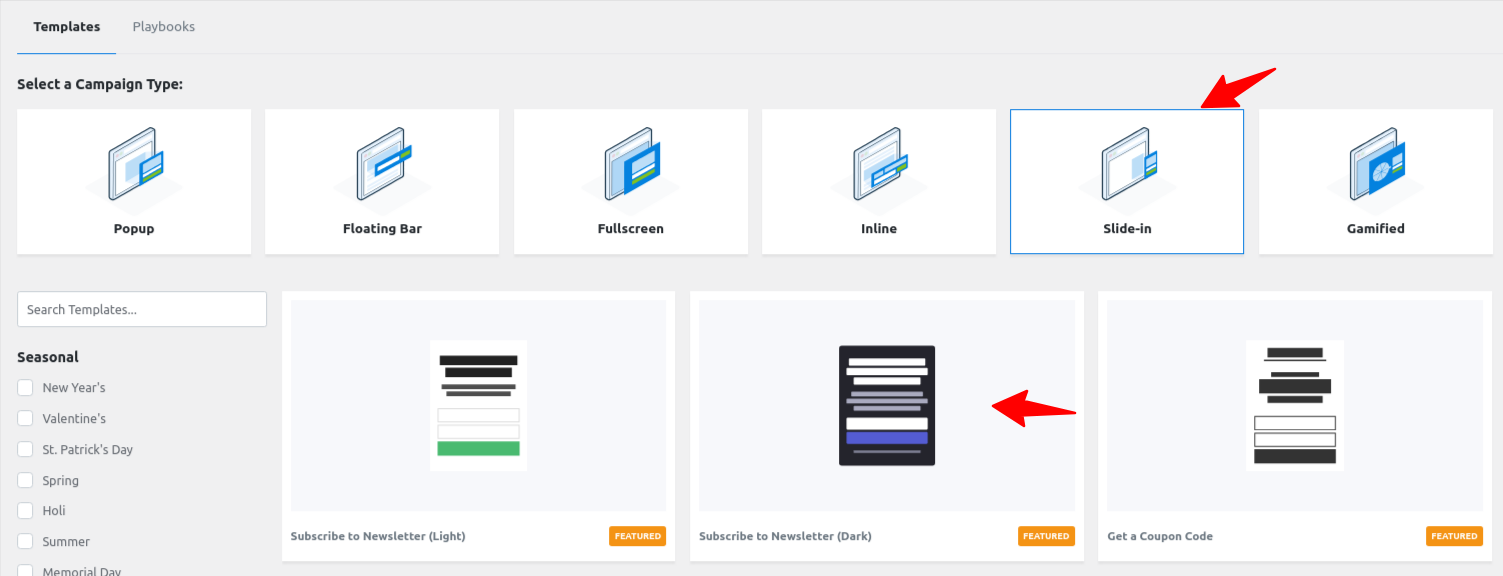
6. OptinMonster lets you create various types of campaigns, including popups, floating bars, inline forms, slide-ins, and more.
7. Select a template you like, give it a name, and launch the drag-and-drop builder.
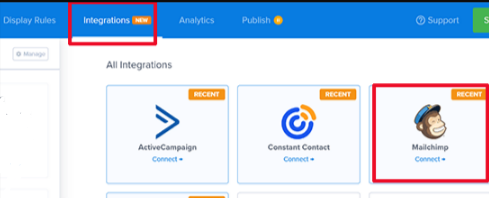
8. Go to the Integrations tab, choose Mailchimp, and click ‘Connect’.
9. Enter your Mailchimp API key.
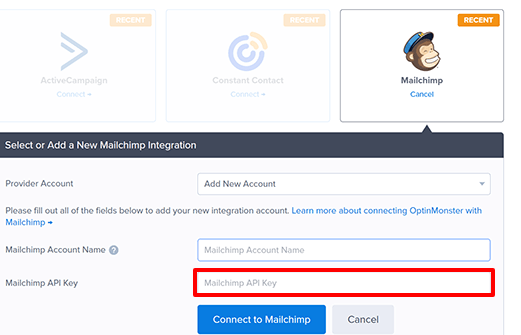
You will get it from your Mailchimp account under Profile > Extras > API Keys.
10. Click on Connect to MailChimp.
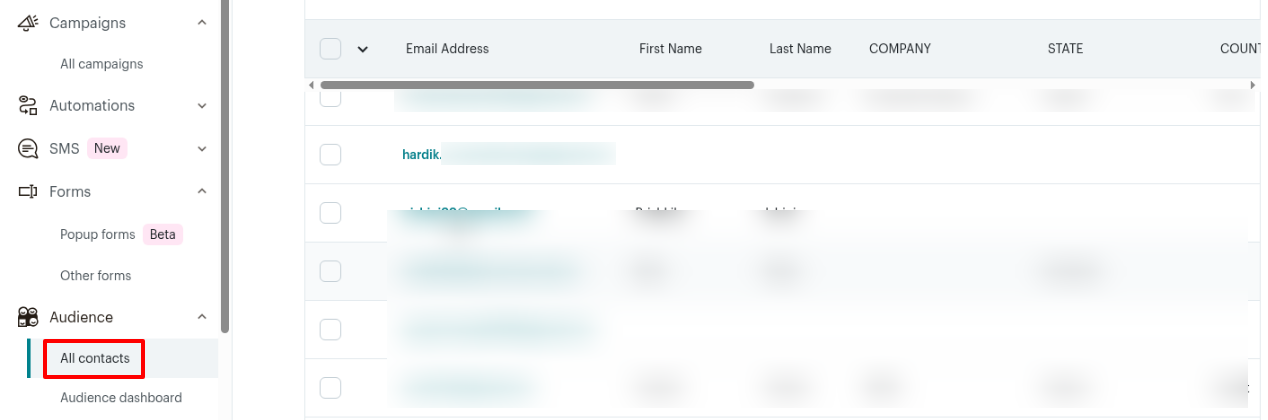
11. Select your Mailchimp audience, where you want to collect new subscribers.
12. Save your form, choose where to show it on your site (e.g., as a popup), and go live.

There are also other plugins available, including Privy, WPForms, and Bloom. You can select based on your needs and preferences.
WPForms is another widely used form builder plugin, and it's perfect if you're looking to create a custom newsletter signup form. It works seamlessly with Mailchimp, allowing you to automatically add subscribers from your forms to your Mailchimp email list.
Other companies like Brevo and Kit also have free plans that let you send more emails to more subscribers.
Integrating Mailchimp with WordPress is a smart and effective way to boost your marketing efforts. It helps you grow your email list, automate campaigns, and engage your audience with personalized messages—all from your WordPress dashboard. Email marketing is a must for any business because it's more affordable than paid ads and delivers faster results with a better ROI than organic marketing.
